
This is a 2D game in which a cube-shaped character moves sideways and through various spiked obstacles of varying heights and levels.
Step 1: Create a Background for the Geometry Dash Game
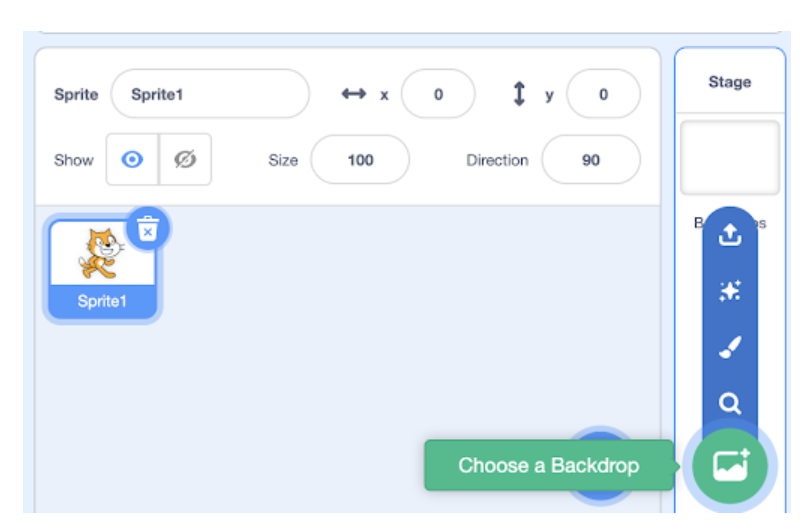
To choose/design your own background, click on the icon on the right side of the screen to select your background.
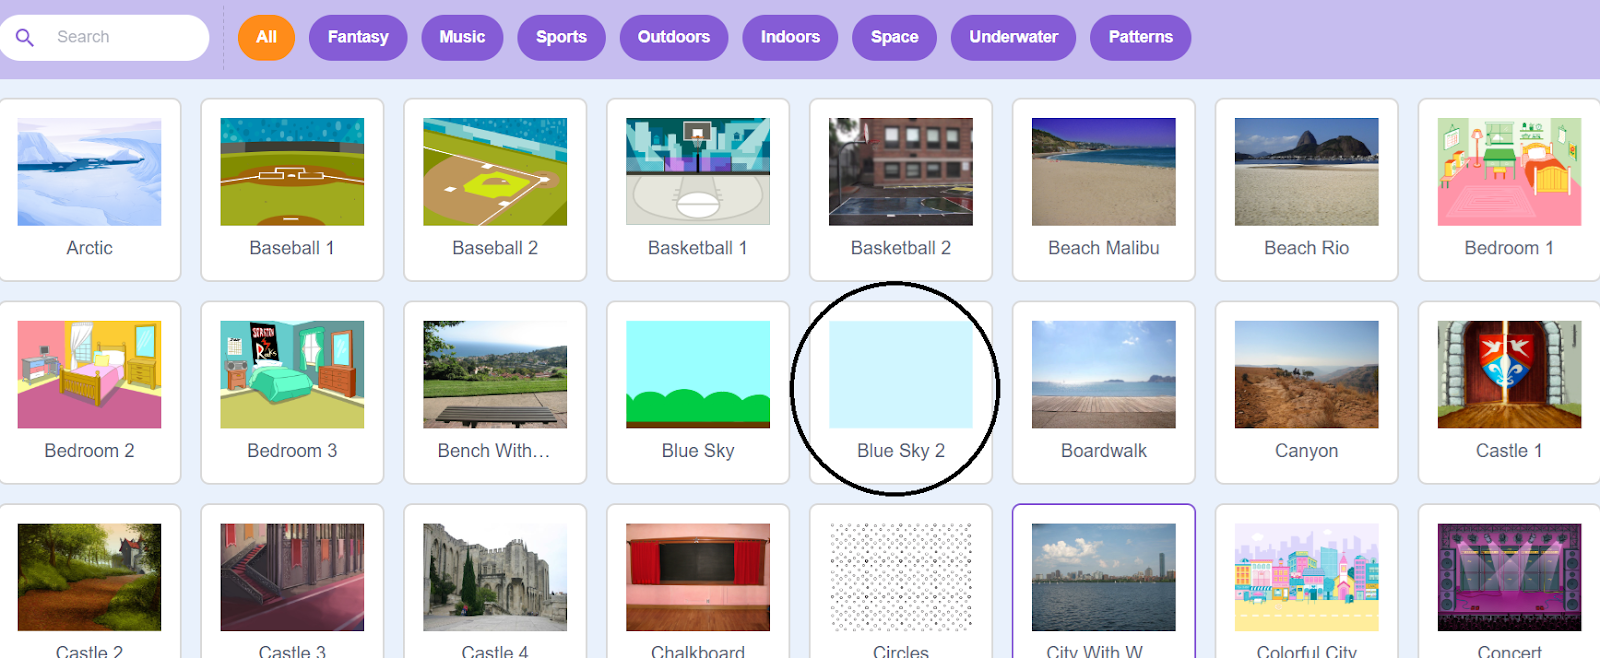
Select Blue Sky 2 background as shown below
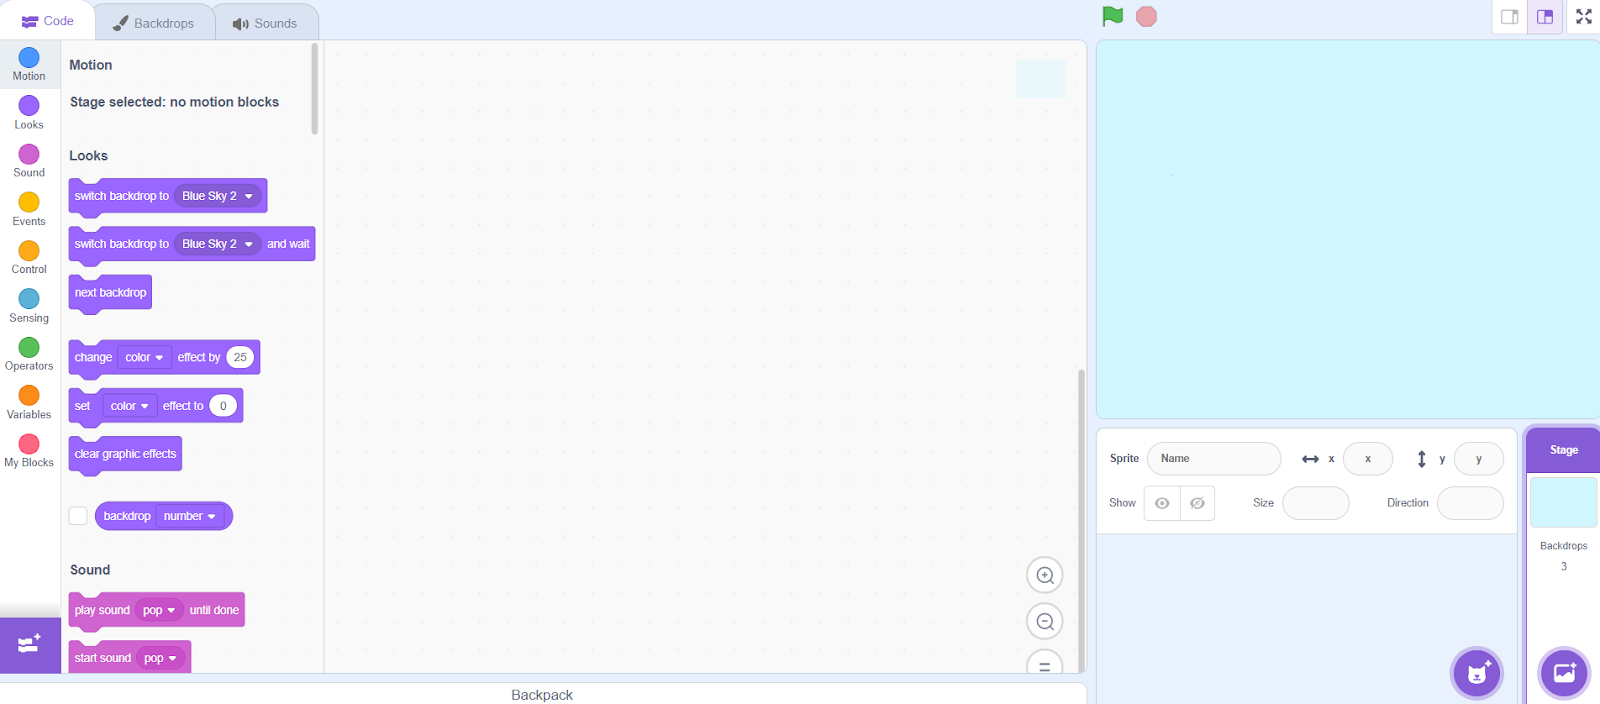
It will create a background as shown below. Remove the cat sprite after the background appears.
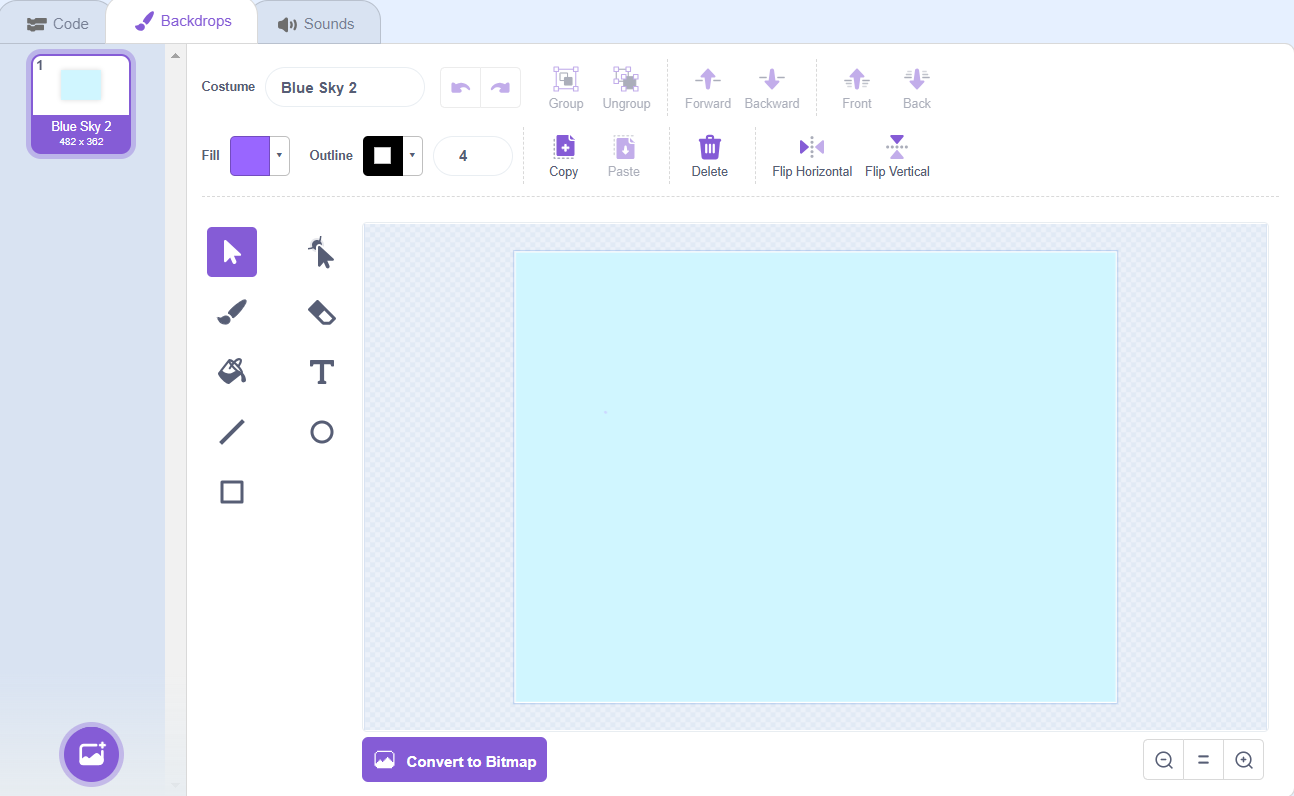
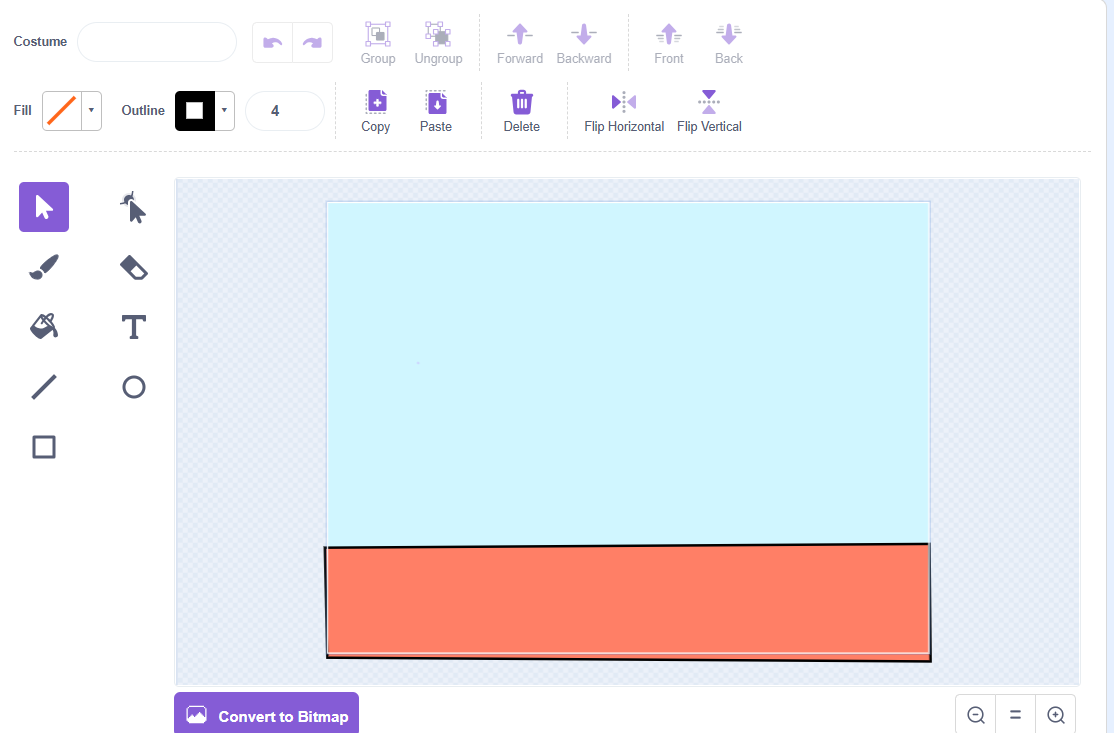
Click on the background in the upper left corner of the image above. It will display the following:
Click on Rectangle and draw a rectangle at the bottom of the background. You can use the fill option to fill the rectangle with any color of your choice.
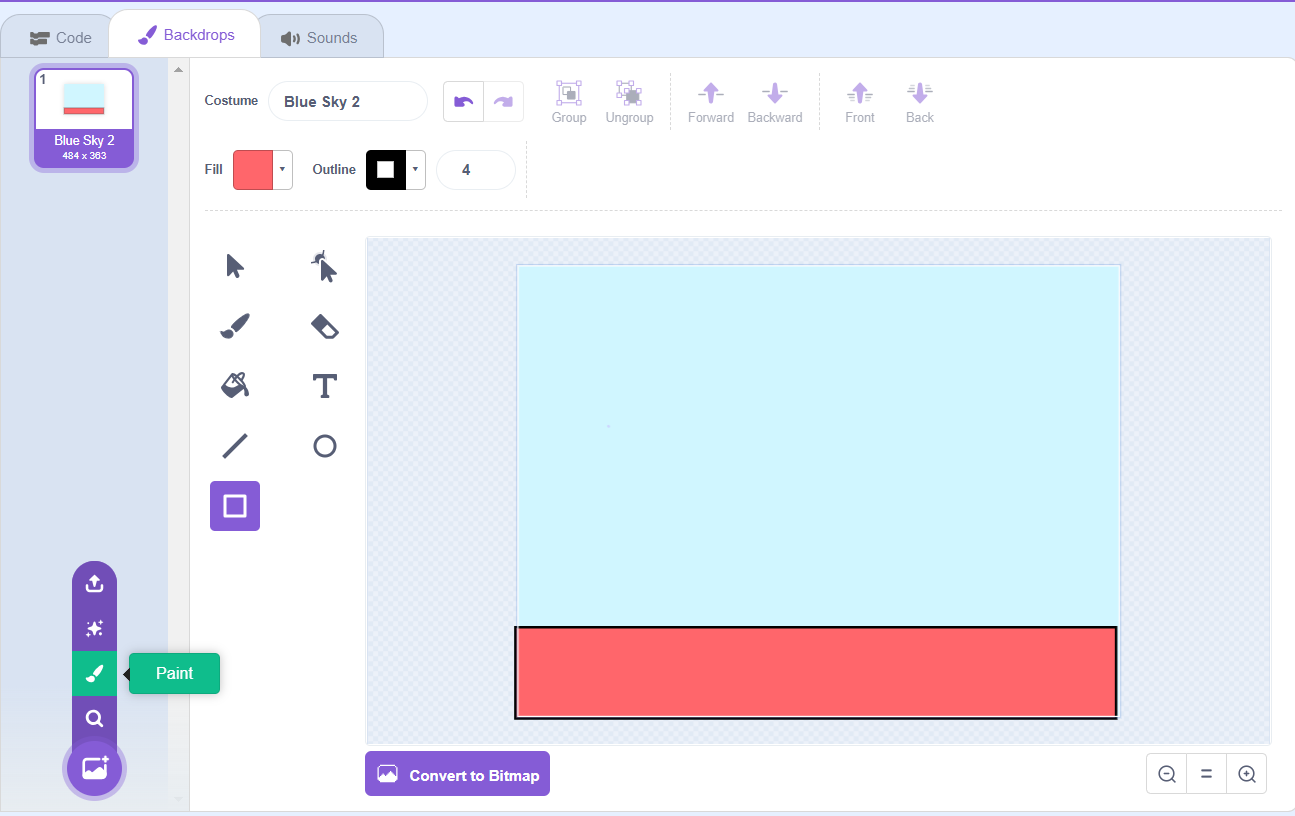
Click the Paint option under the Create Background icon, as shown below, to create a second background for the game.
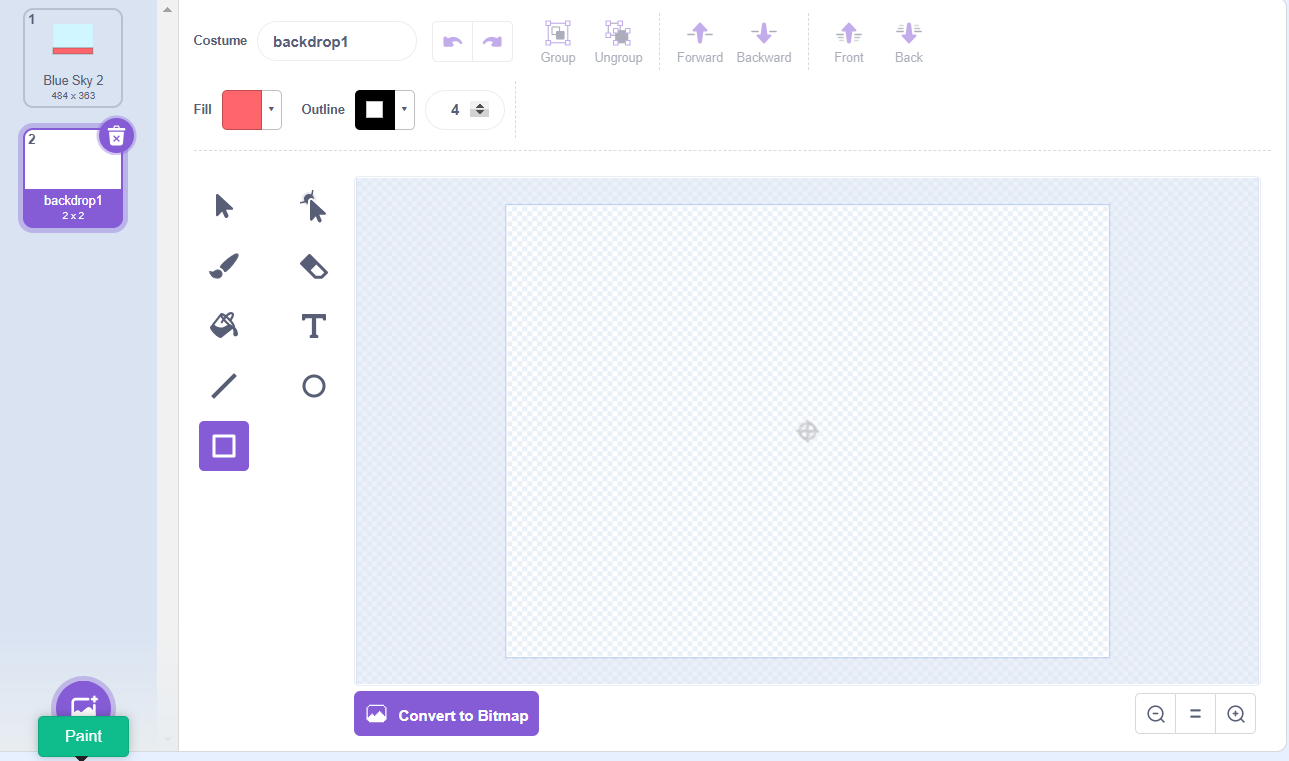
It will create an empty background as shown below.
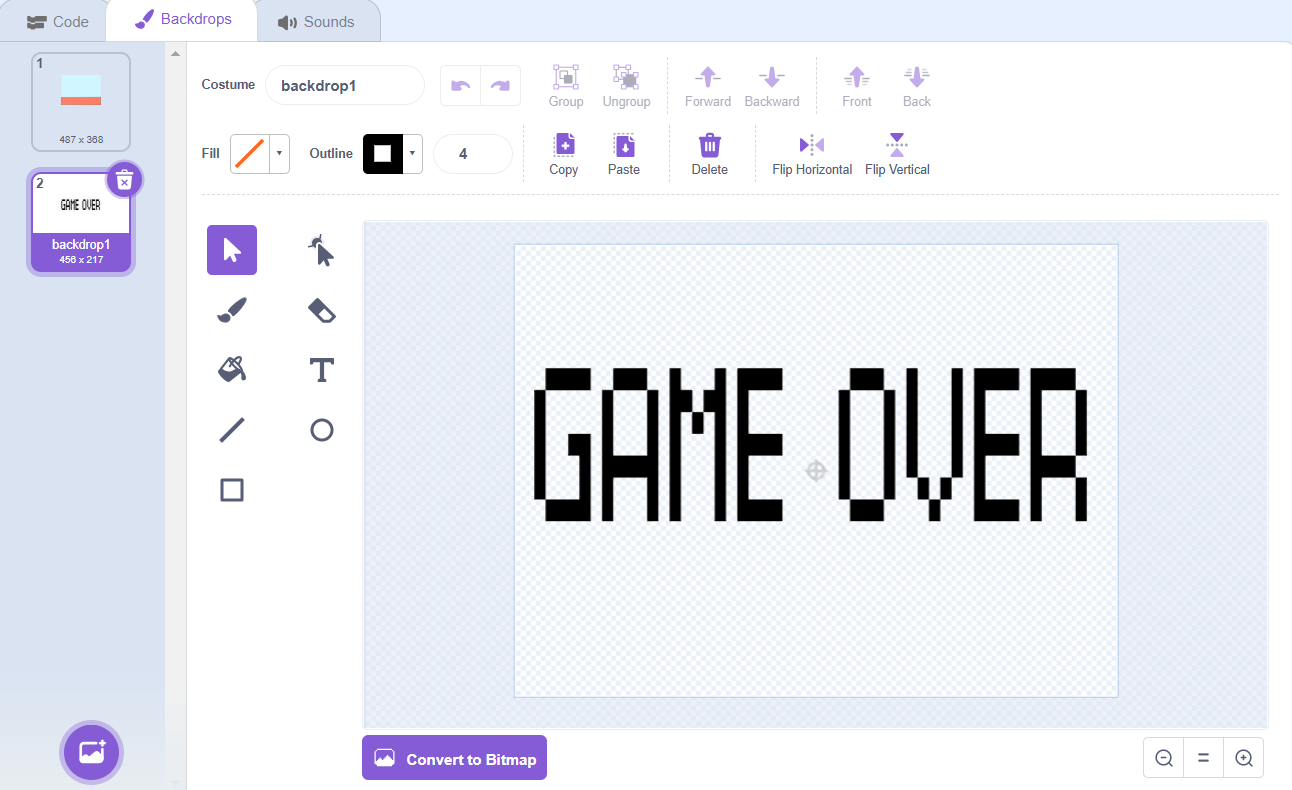
Click T (Text option) to write game text on the background. You can adjust the size and font as per your choice.
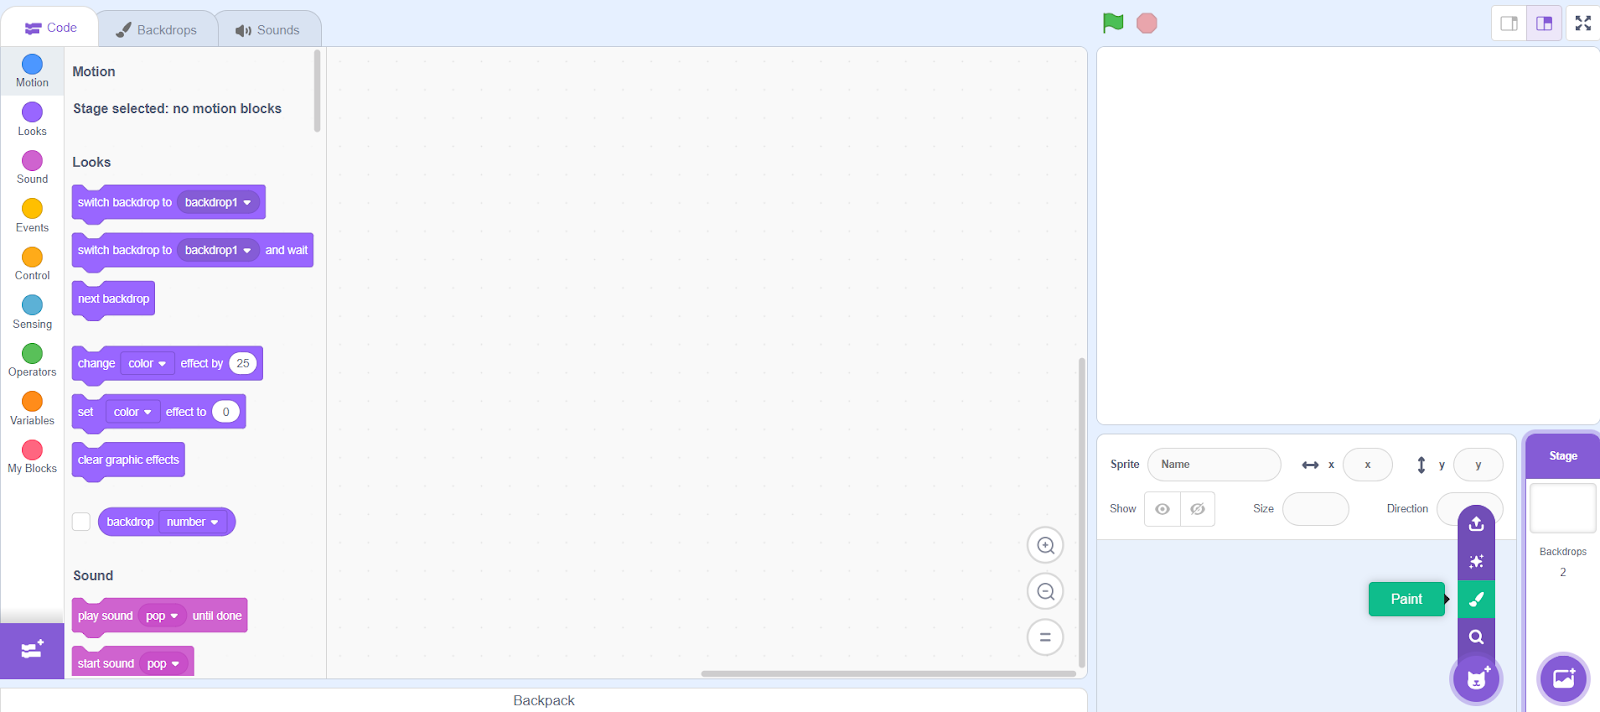
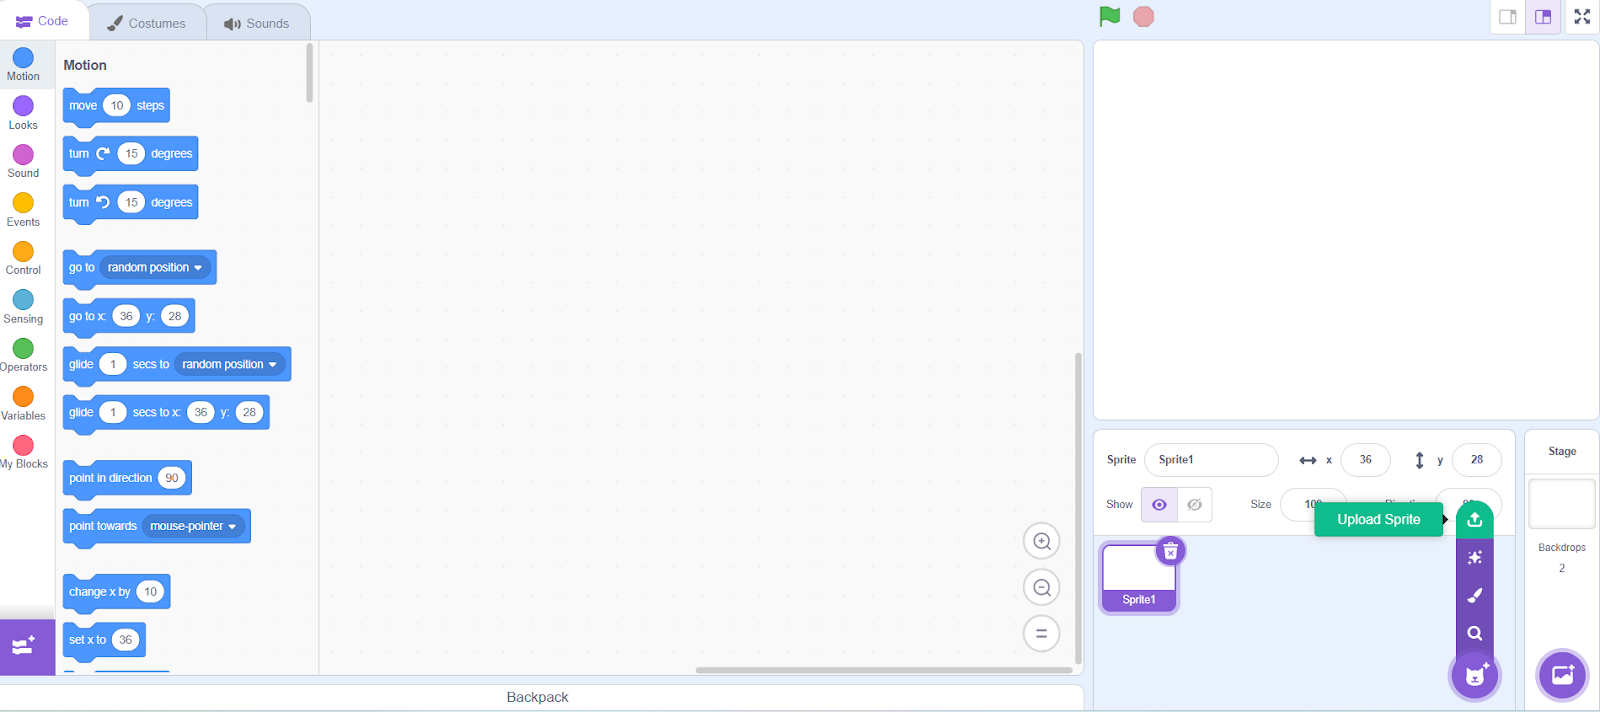
Step 2: Create sprites for the Geometry Dash game
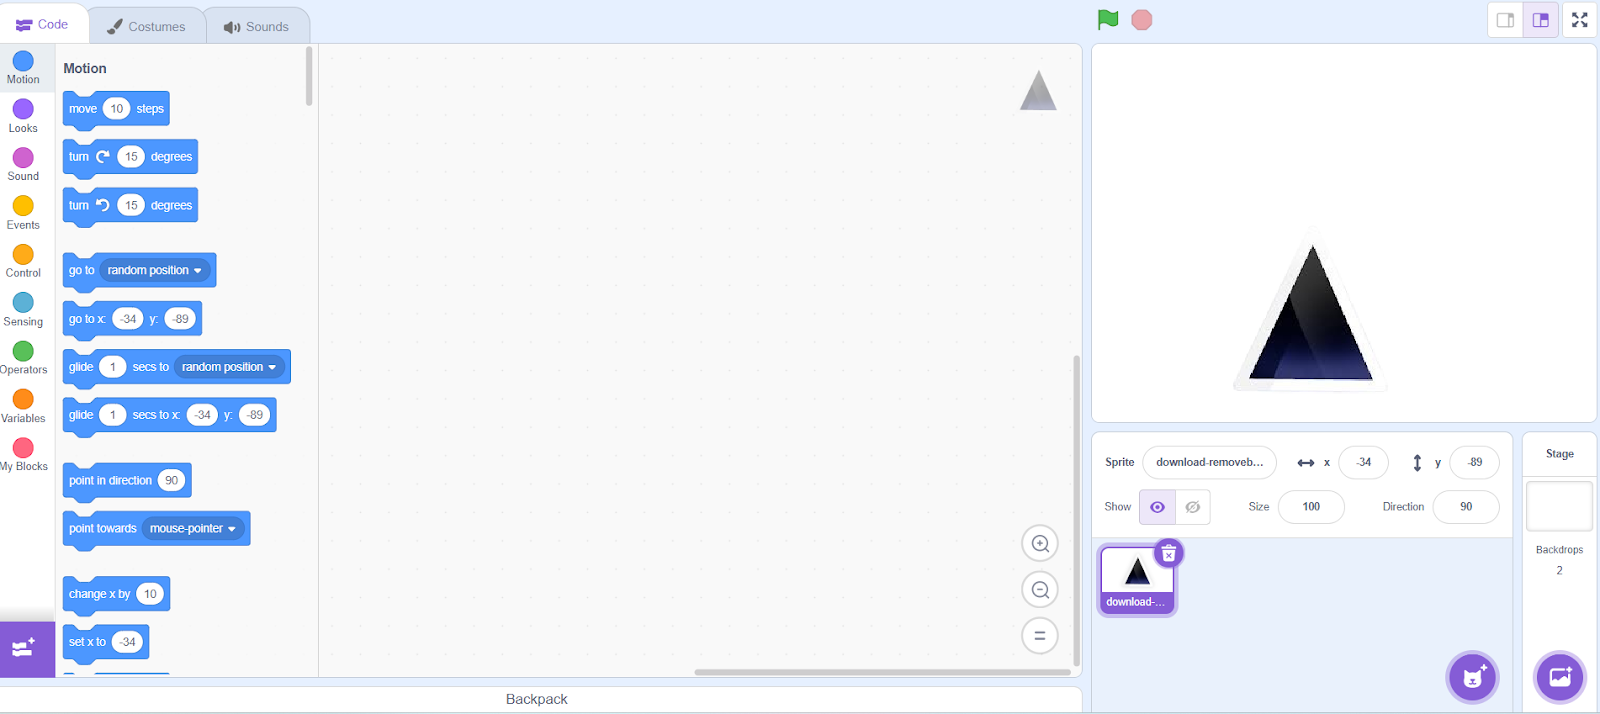
The first sprite is the player, it is a square sprite.
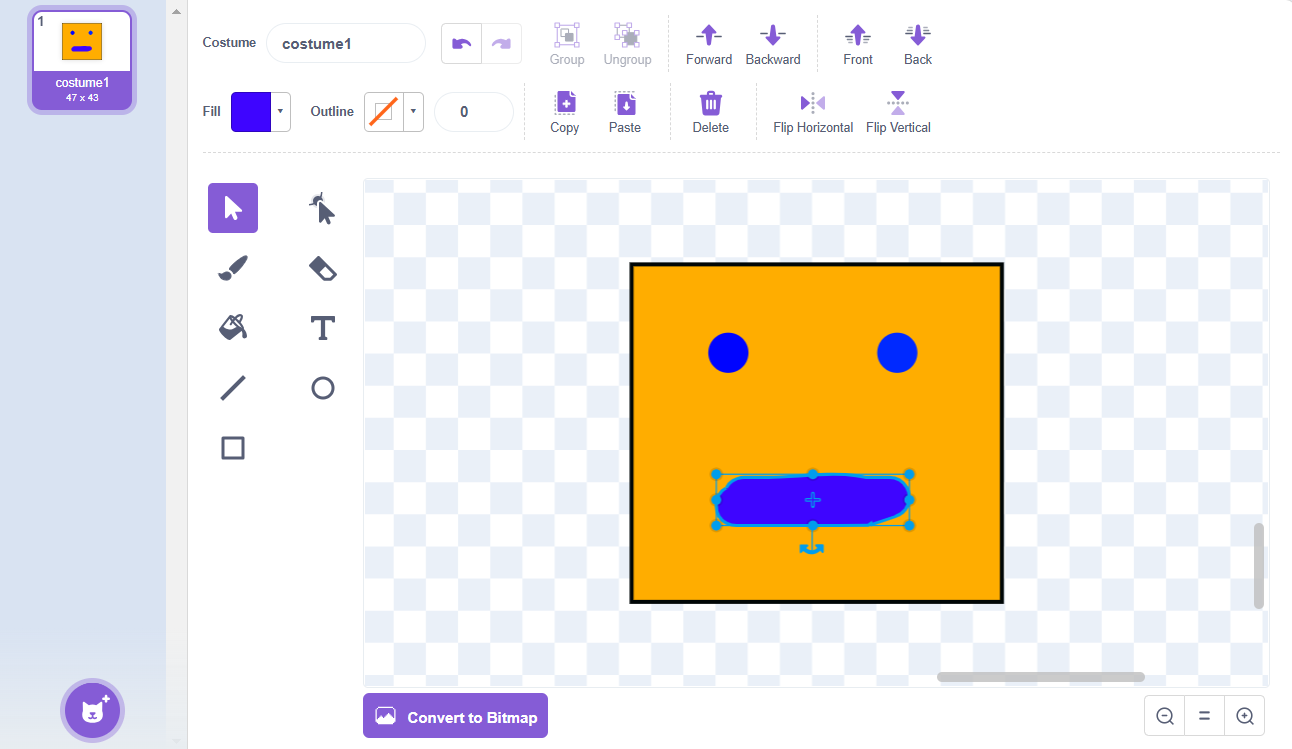
Click on the blue cat icon in the lower right corner to draw a new sprite. Select the brush option to draw the sprite.
Click on clothing in the upper left corner.
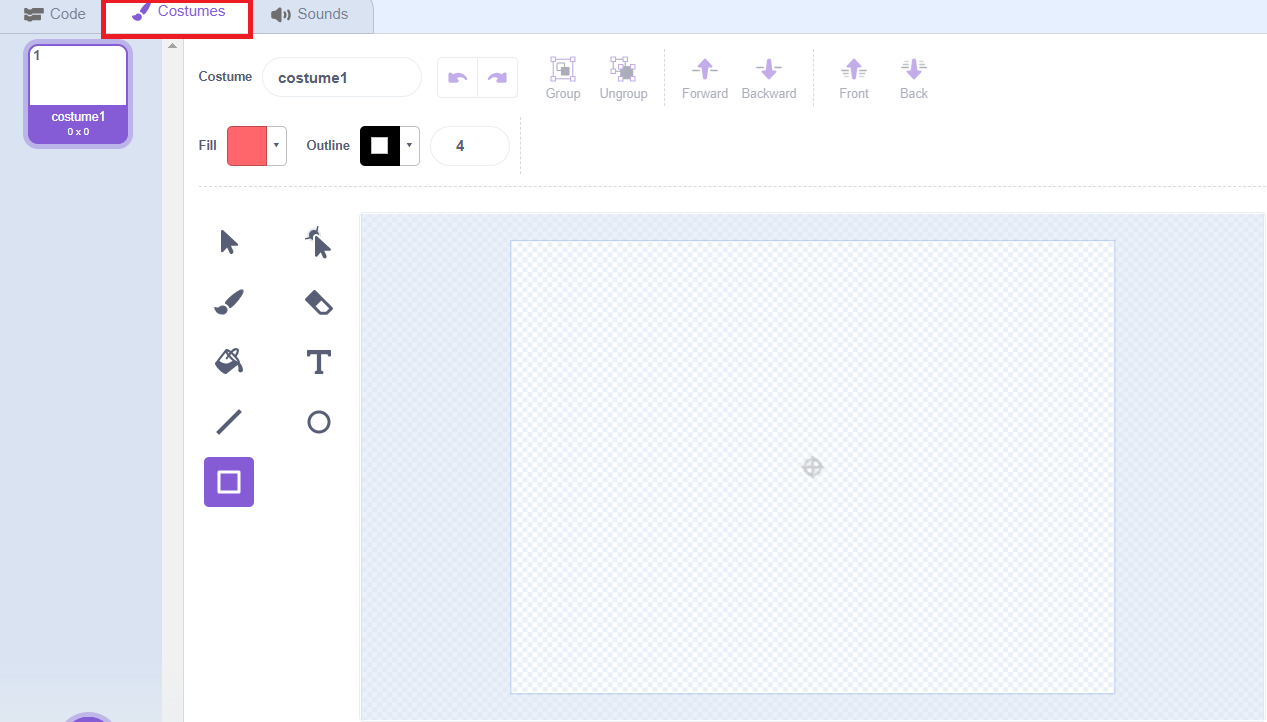
Click on the square and use the different options to build your own version of the sprite with eyes and mouth, as shown below.
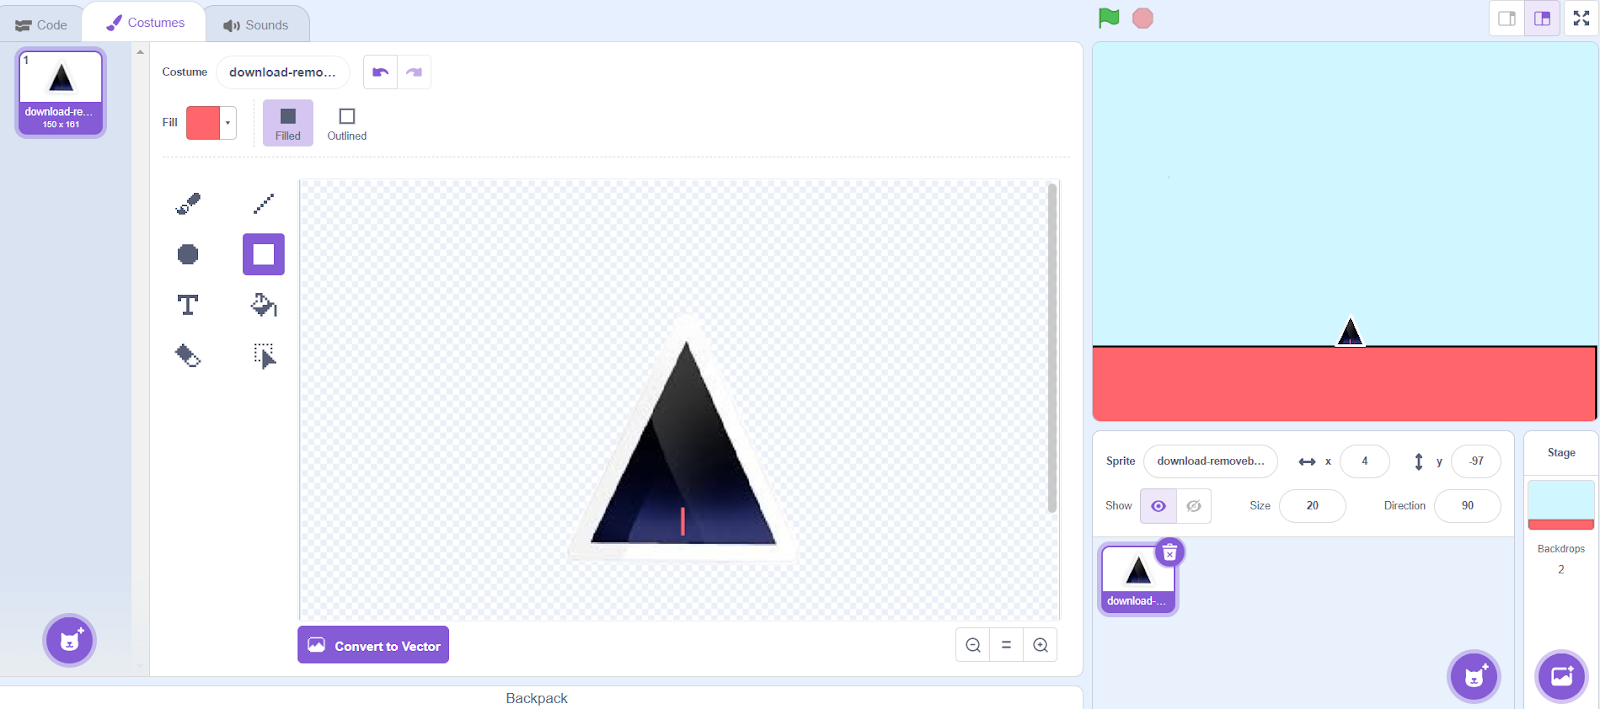
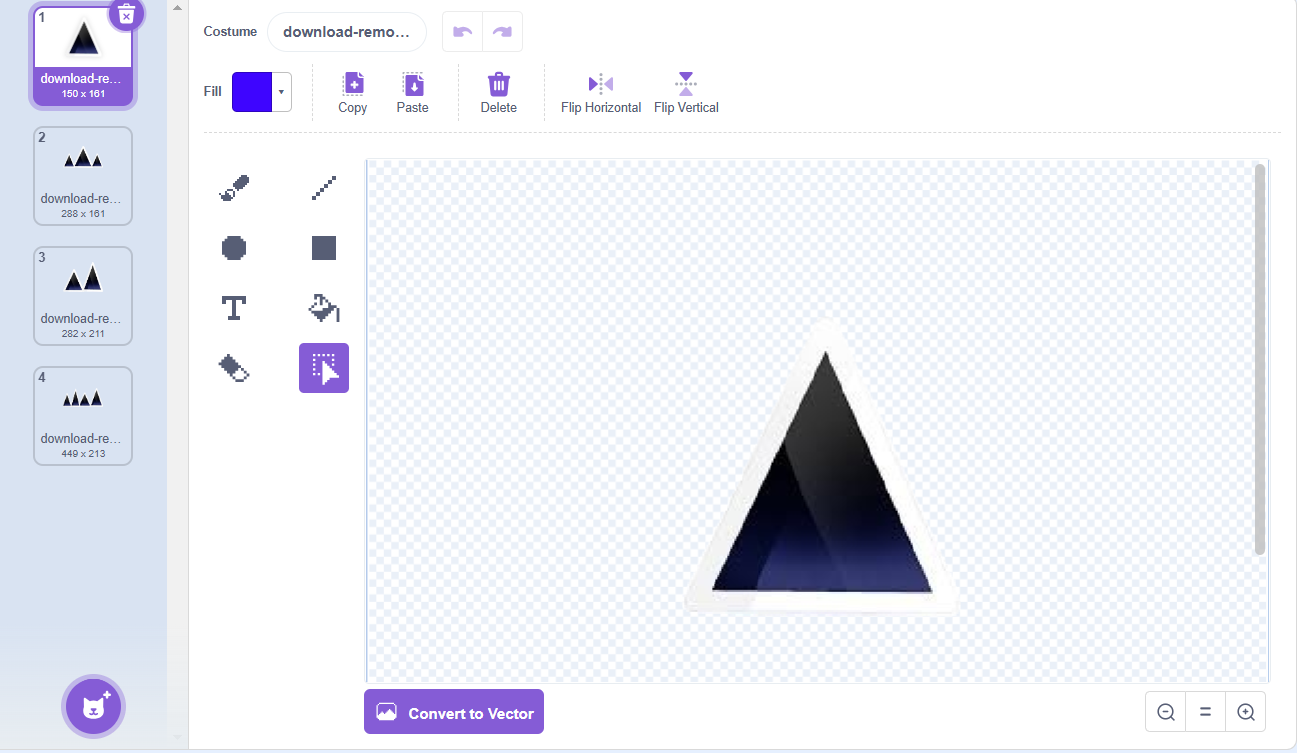
The second sprite is the spike in the game. Download any picture of spikes from the internet. Don’t forget to remove the background of the downloaded image before using it in your game. After downloading the image.
Click the Upload option under the Create sprite icon and select the downloaded image.
Change the size of the sprite to your choice and drag it and place it on top of the rectangle as shown below:
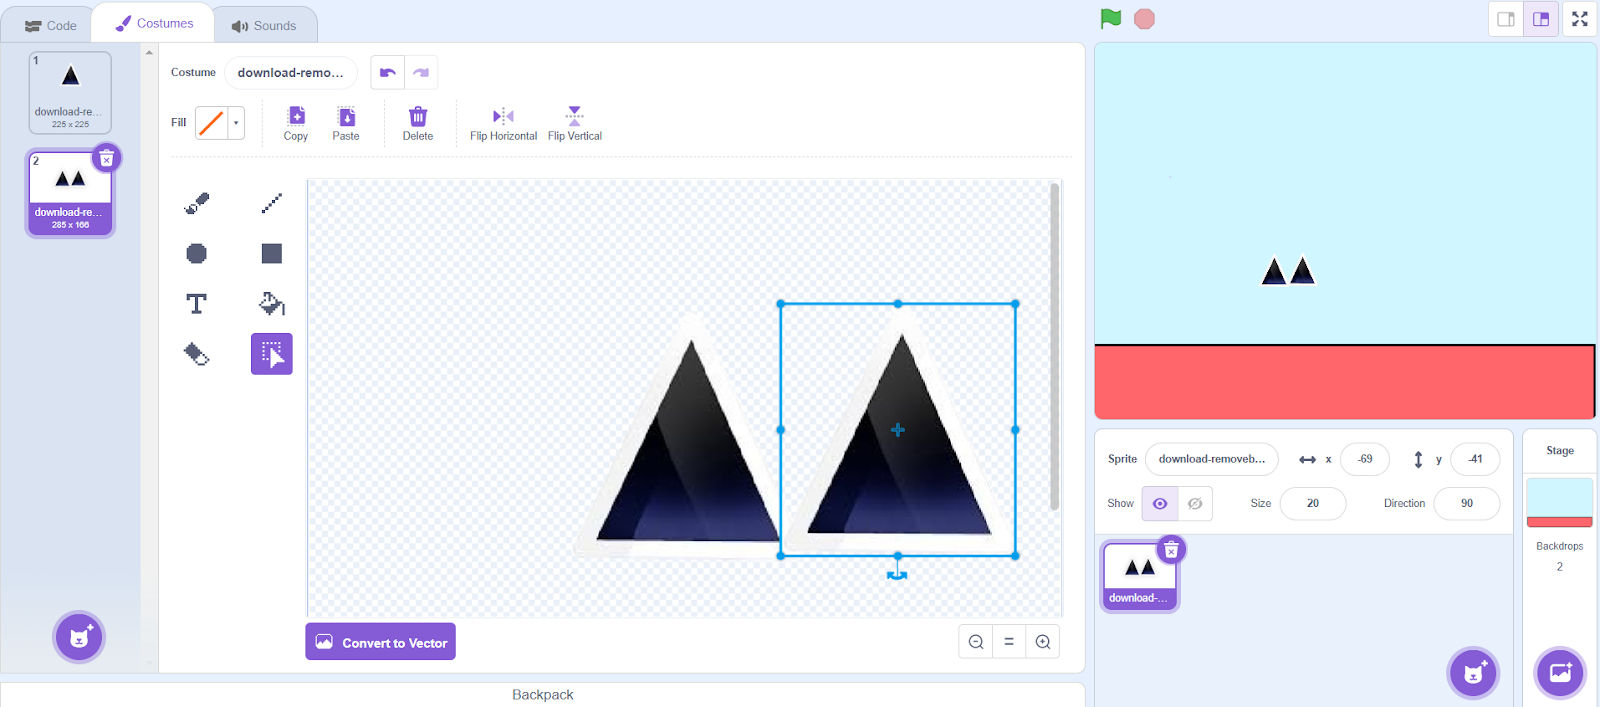
The next step is to create different spikes. Right-click on the uploaded sprite and select Copy as shown below.
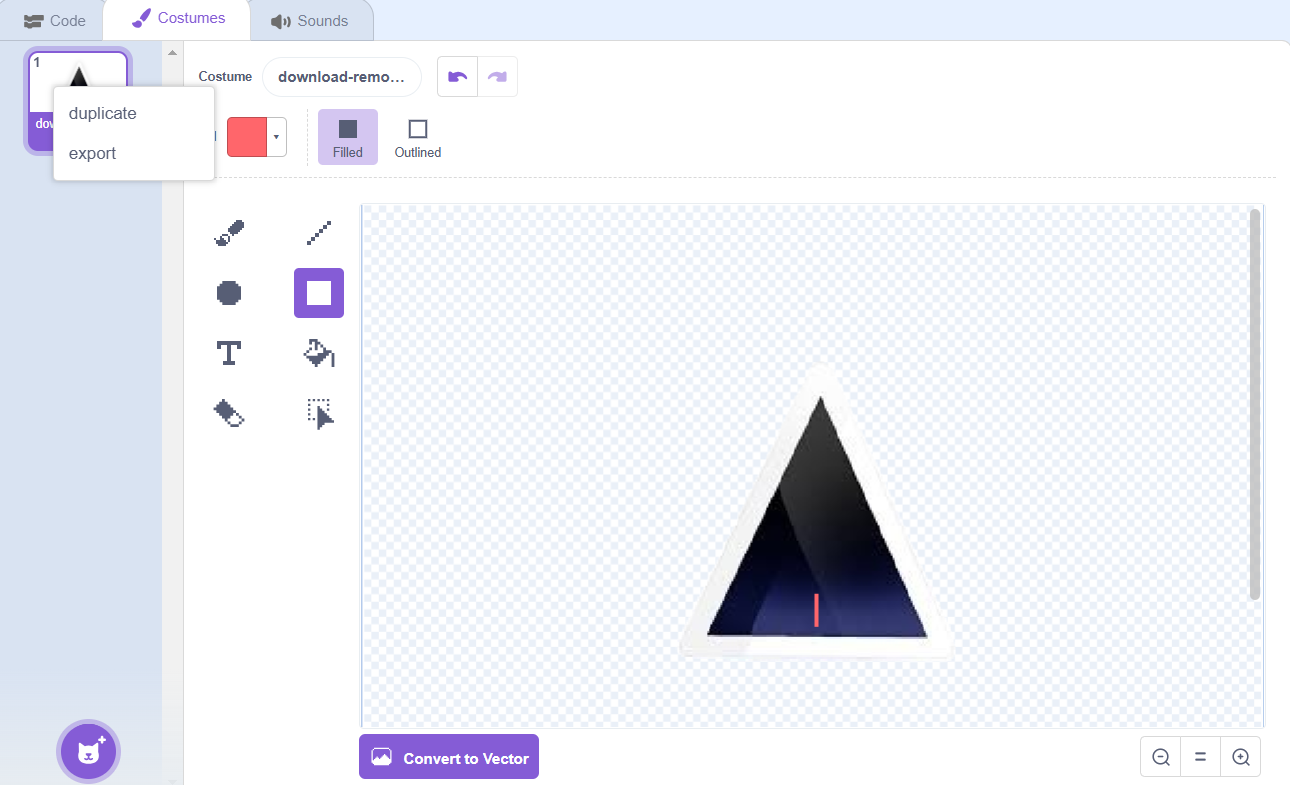
Click on the selection option highlighted in red in the image below
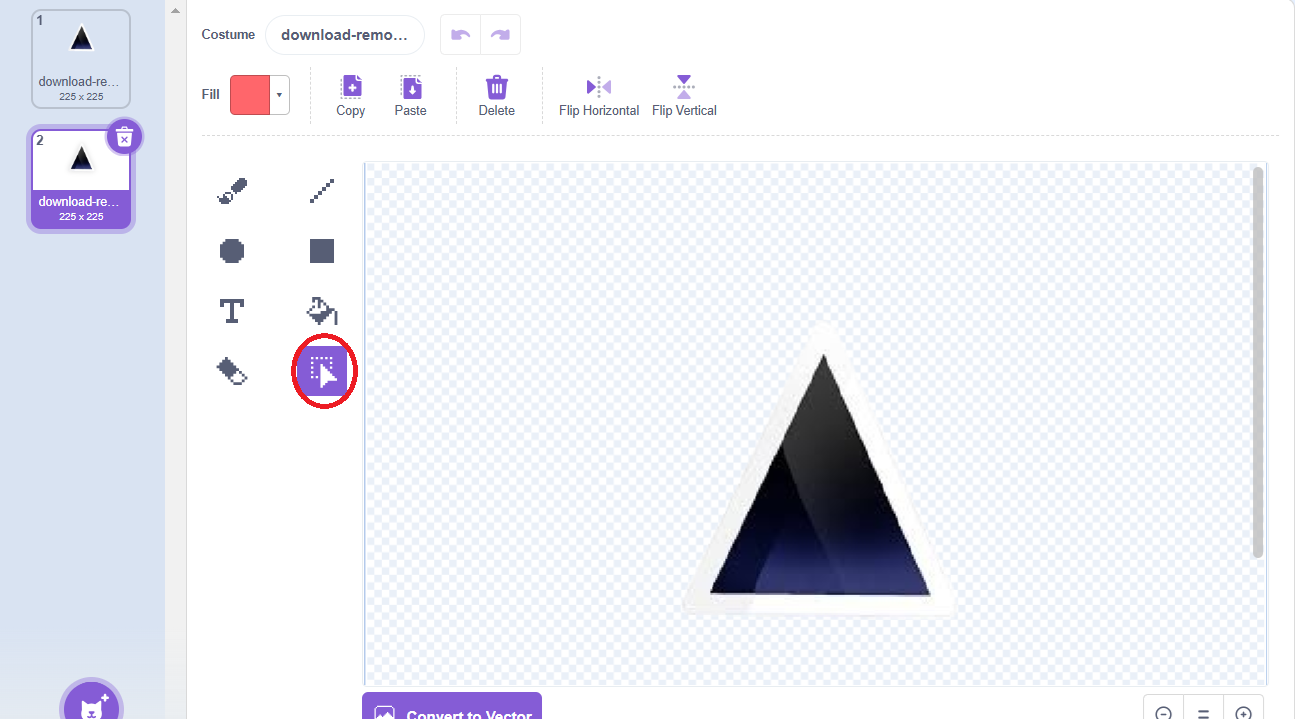
Click the copy and paste option to create a copy of the image. You can create multiple spikes by dragging the copied image to adjust its position, as shown below. Change the size after building a new spike according to your choice.
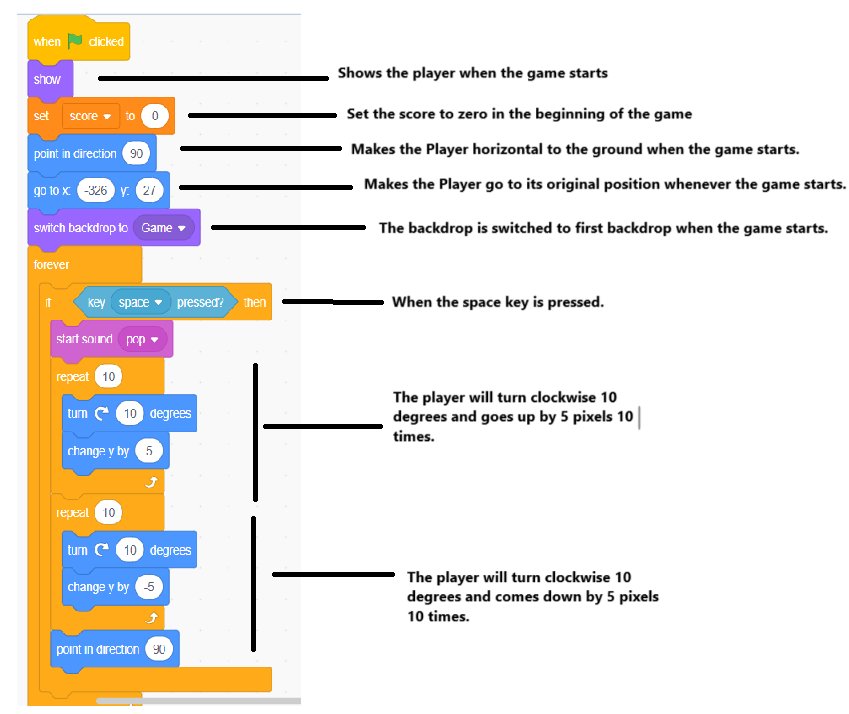
Step 3: Make the player jump when the space bar is pressed
The following code causes the player to jump at an angle when the space bar is pressed.
Step 4: Make multiple spikes and move them
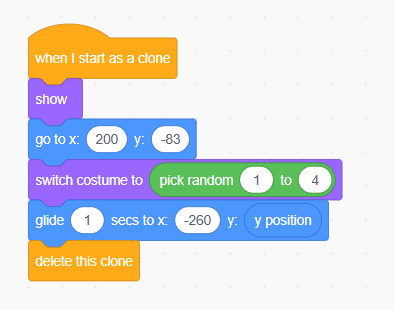
Click on the spike sprite and add the following code block.
When the game starts, Spike repeatedly creates clones of itself every 3 seconds. One can adjust the peak frequency in the game by changing the number of seconds. The more seconds there are, the less frequently there will be spikes in the game.
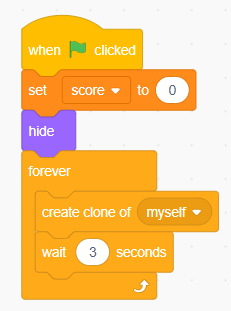
Whenever a clone of a spike is built, the clone goes to the starting position of x:200 and y:-83. One can change the starting position depending on the game design.
Spikes are chosen randomly. Since there are four types of spikes, the computer randomly selects spikes based on a random number between 1 and 4. Once the clone leaves the screen, it is deleted.
Step 5: Score
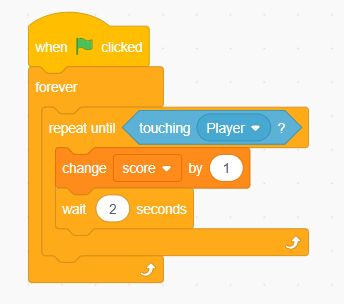
As soon as the game starts, players start scoring points. The player will gain points until the player reaches the peak.
Add the following code for the Spike Sprite. The score increases by 1 every 2 seconds until the spike touches the player. Once the seconds can be changed to adjust how quickly players score.
Step 6: The game ends when the player touches the spike
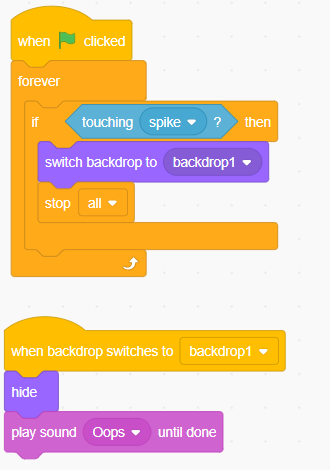
Add the following code to the player sprite. It checks if the player repeatedly touches any spikes.
Whenever the player touches the sprite, the spikes will stop moving, the score will stop changing, and all loops will stop functioning. The game over background appears, indicating that the game has ended.
When the game ends, we need to hide the player sprite.
Hope this helps, thanks.
You may like to read: “C Programming for Kids”, “Educational Games for 6-year-olds” and British 11 Plus Grammar School


