
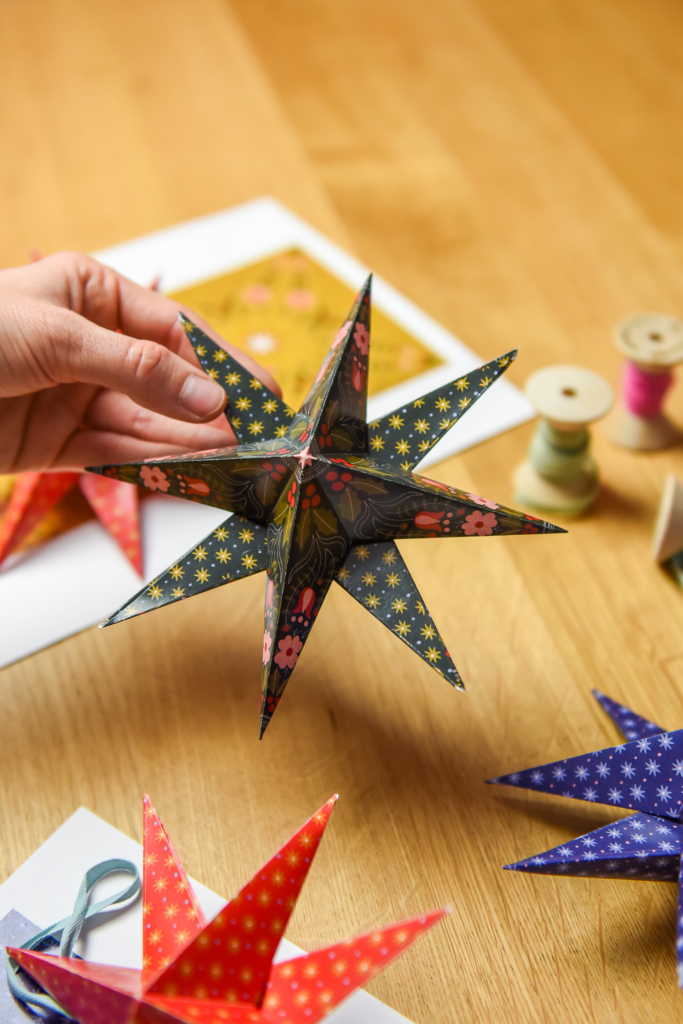
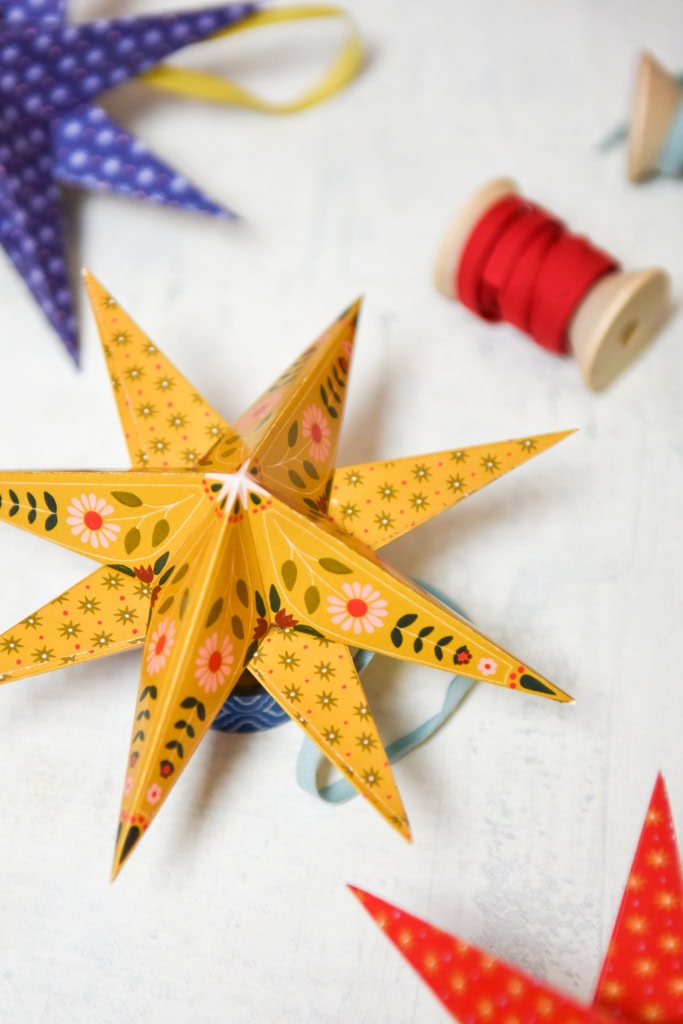
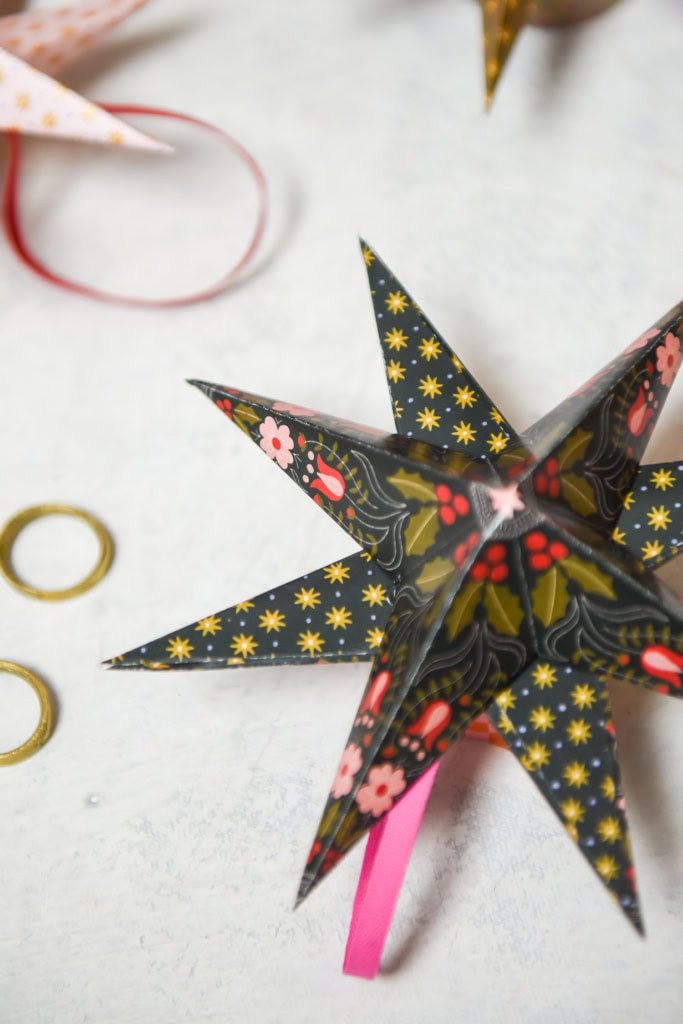
Every year we love to create special decorations for the holidays. This year we decided to make a 3D printable Christmas star. I love how they turned out! We make them in a variety of styles and colors, so you can print them out and fold them at a party with friends or family to have a great time. These stars can be used as decorations, garlands, gift decorations or table centerpieces. The best part? Using a printable template and a few basic supplies, you can easily create stunning folded stars. In this guide, we’ll walk you through the steps to making a beautiful Christmas folding star.
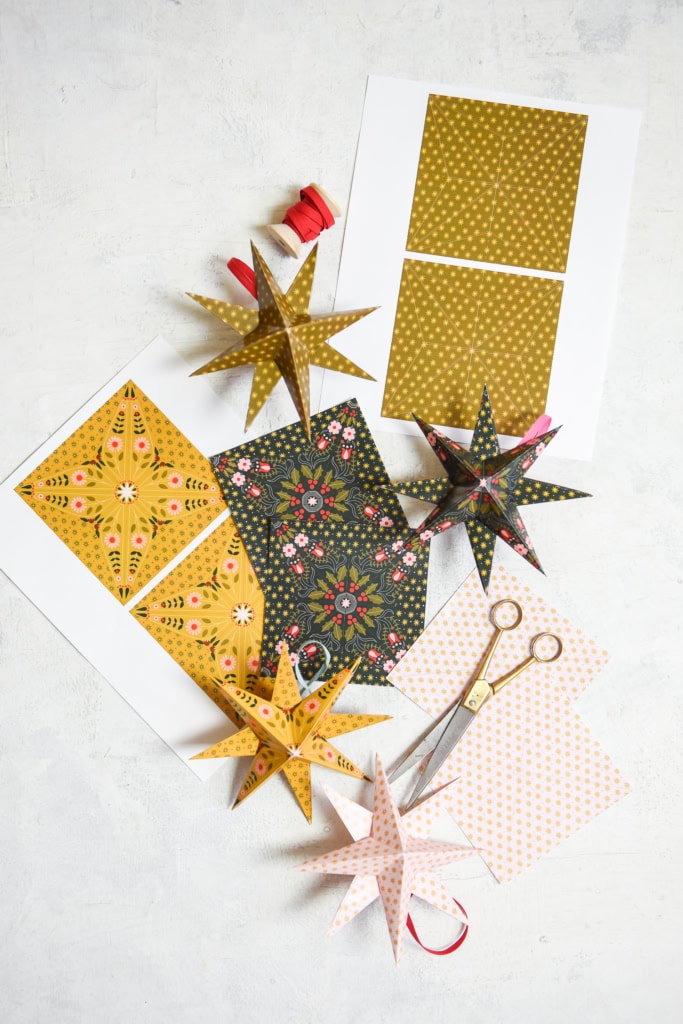

3D printed Christmas stars
difficulty:
beginner
time:
5-10 minutes per star
Material
-
template
-
Scissors or paper cutter
-
glue stick
-
glue gun
-
ribbon
instruct
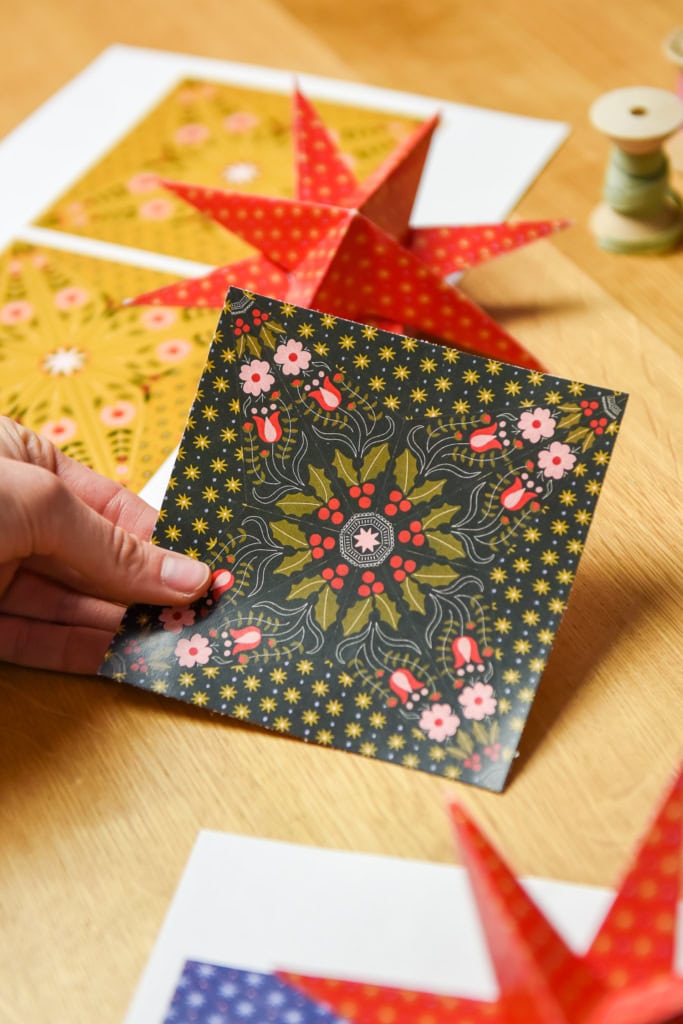
Print template
-
The print file is available for download from our store and prints onto standard printing paper, 8.5 x 11 inches, with two squares per page. Each star consists of two squares.
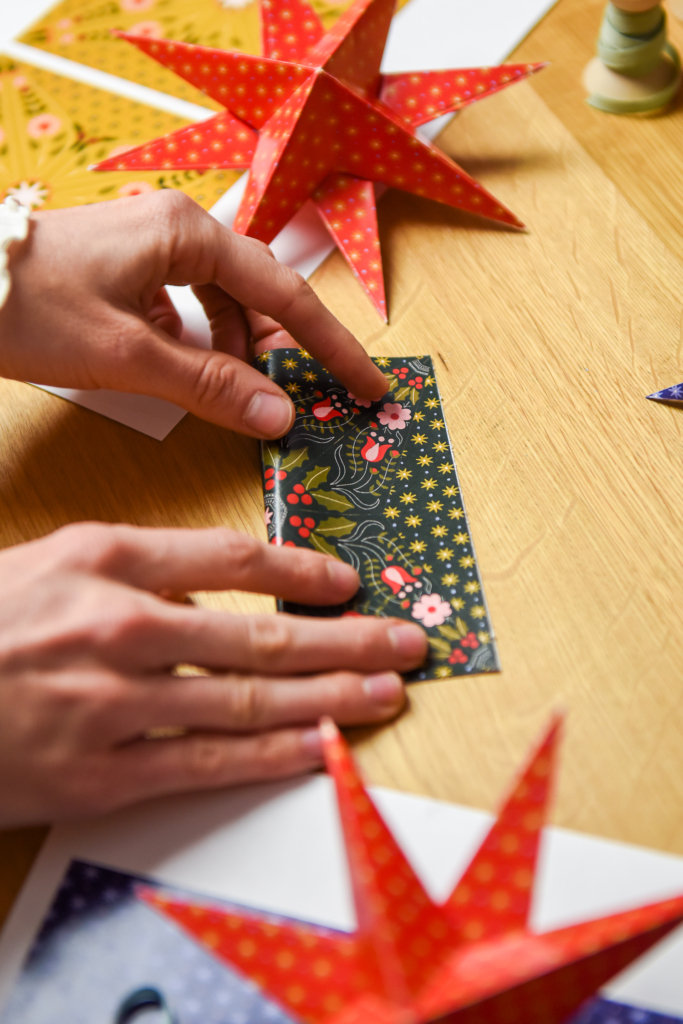
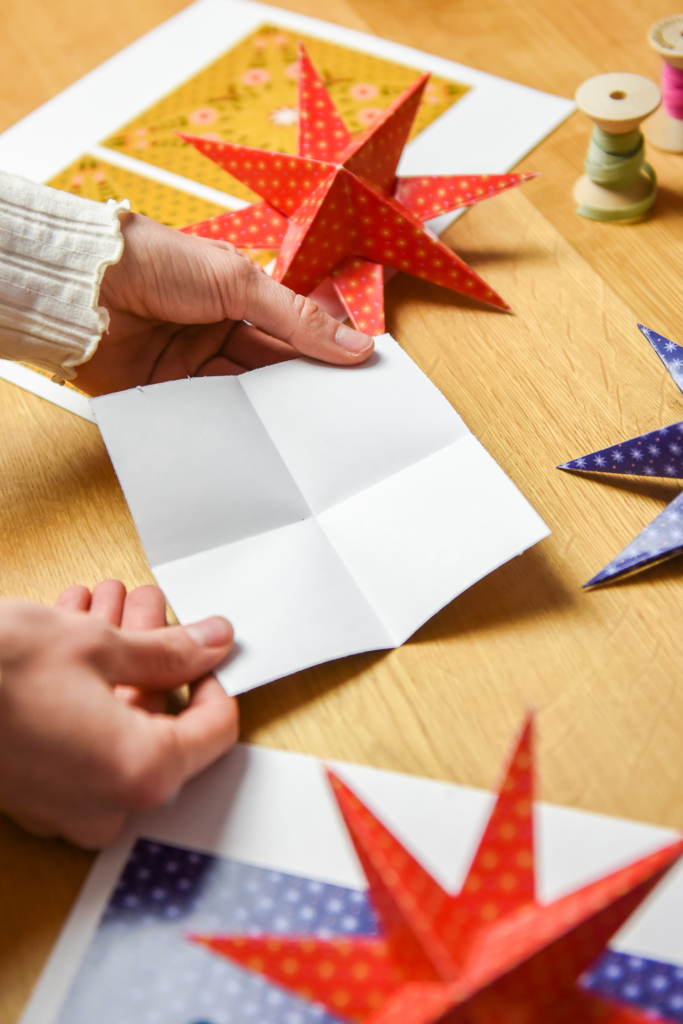
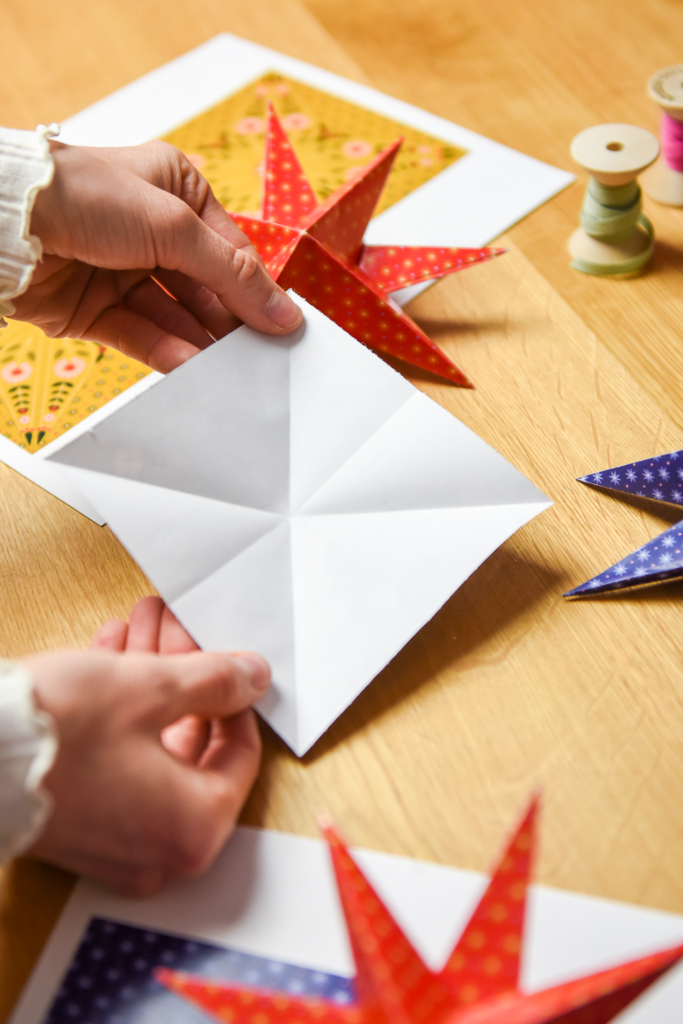
Fold the stars
-
Start by folding the star in half. There are thin lines indicating where to fold to make it easier.
-
Then do half the other way.
-
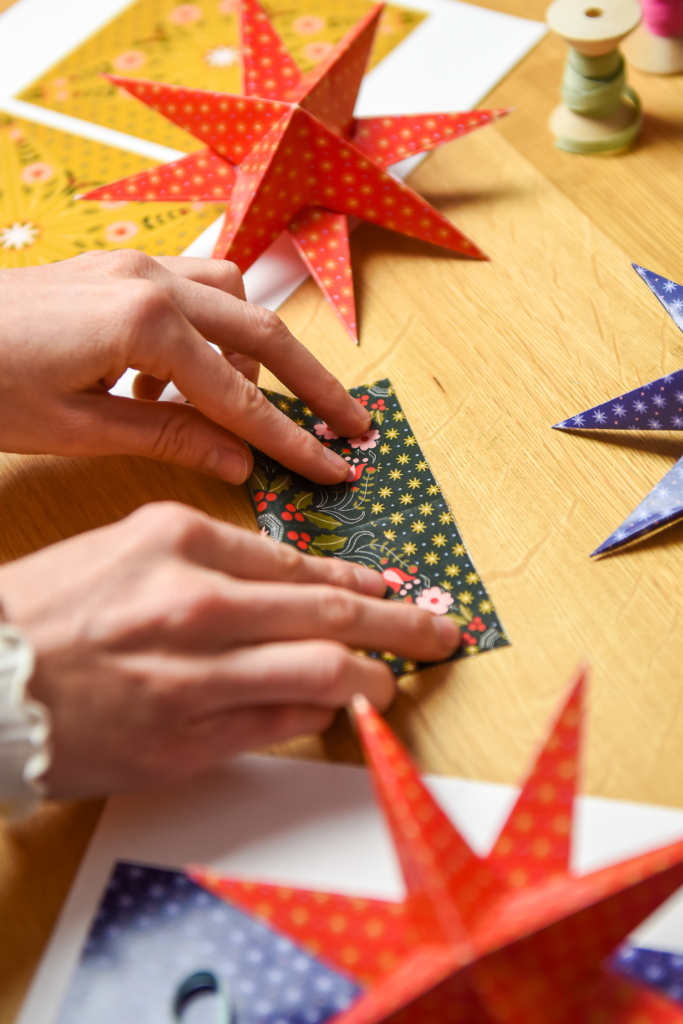
Then fold along the diagonal.
-
Then follow another diagonal line.
-
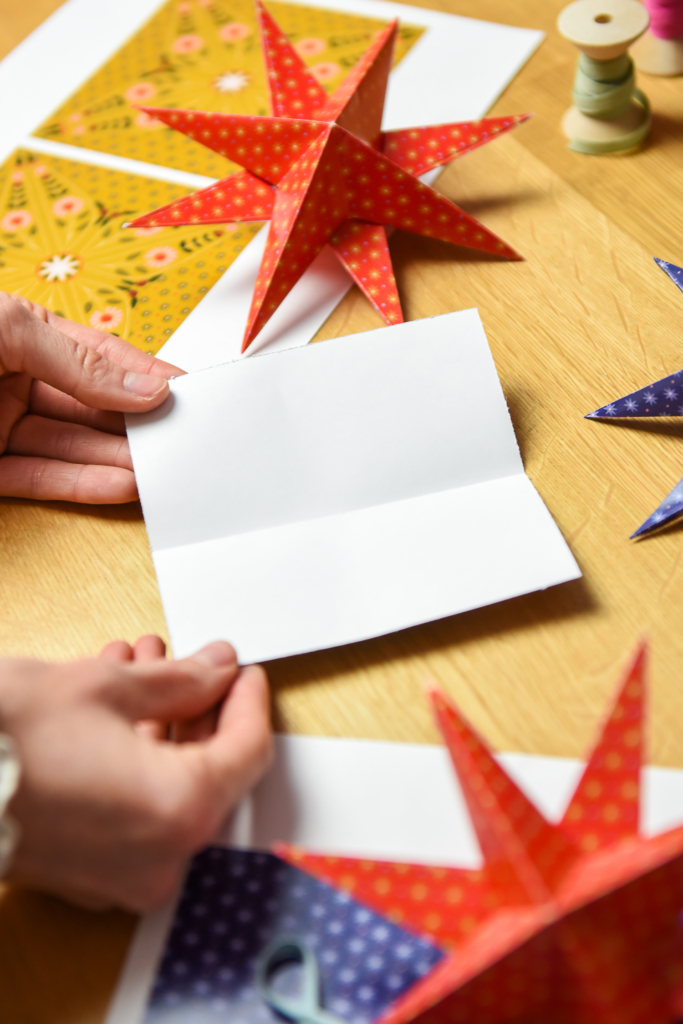
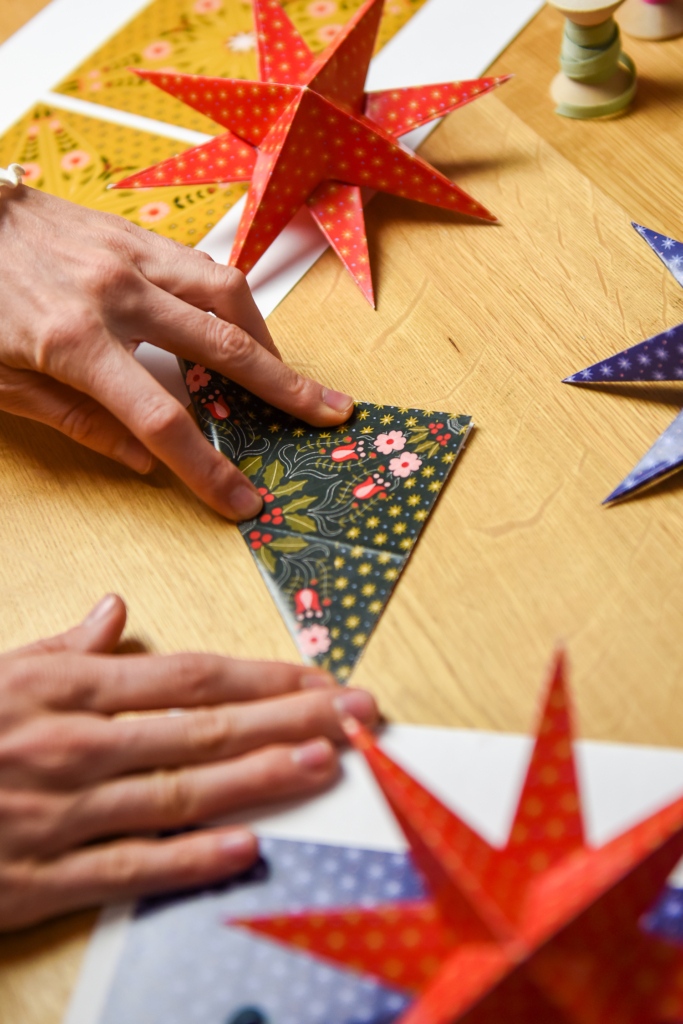
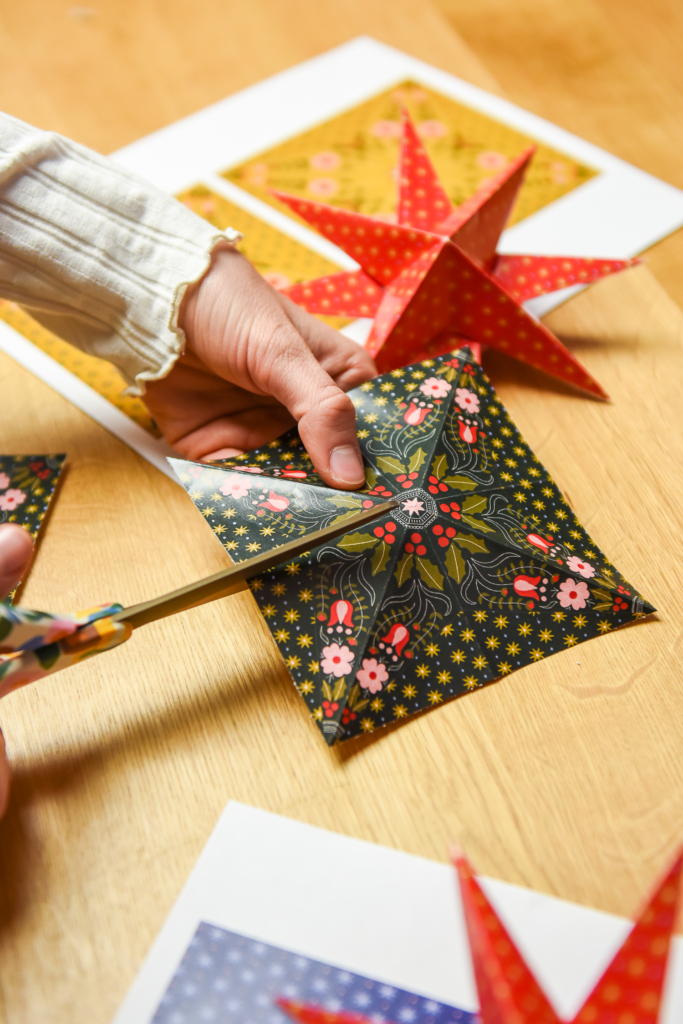
Use scissors to cut about 1 inch on each side as indicated by the dotted lines.
-
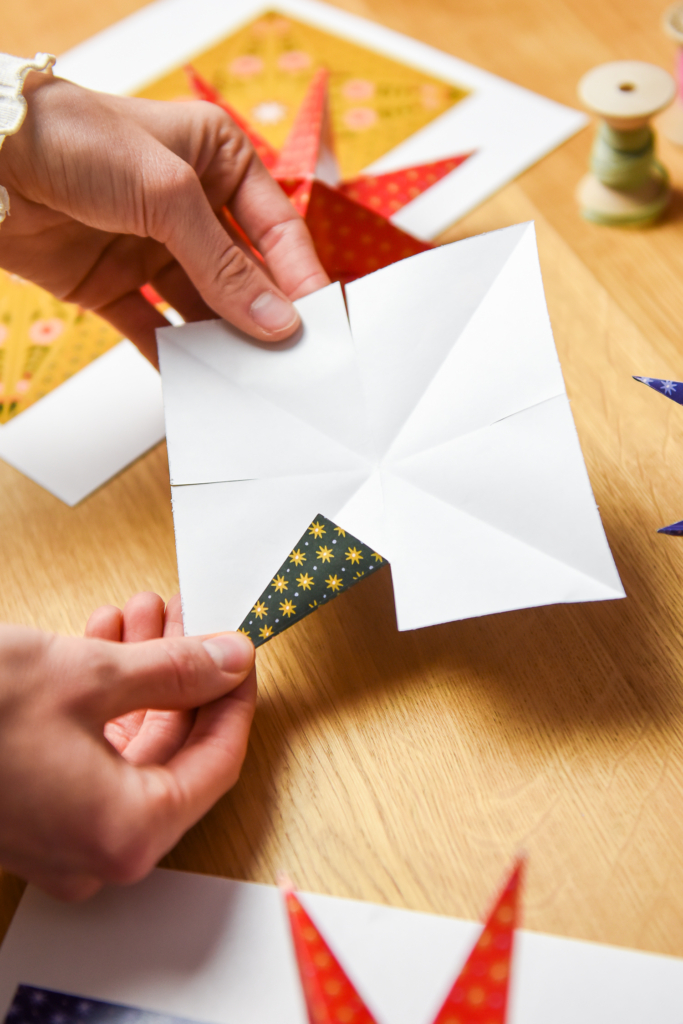
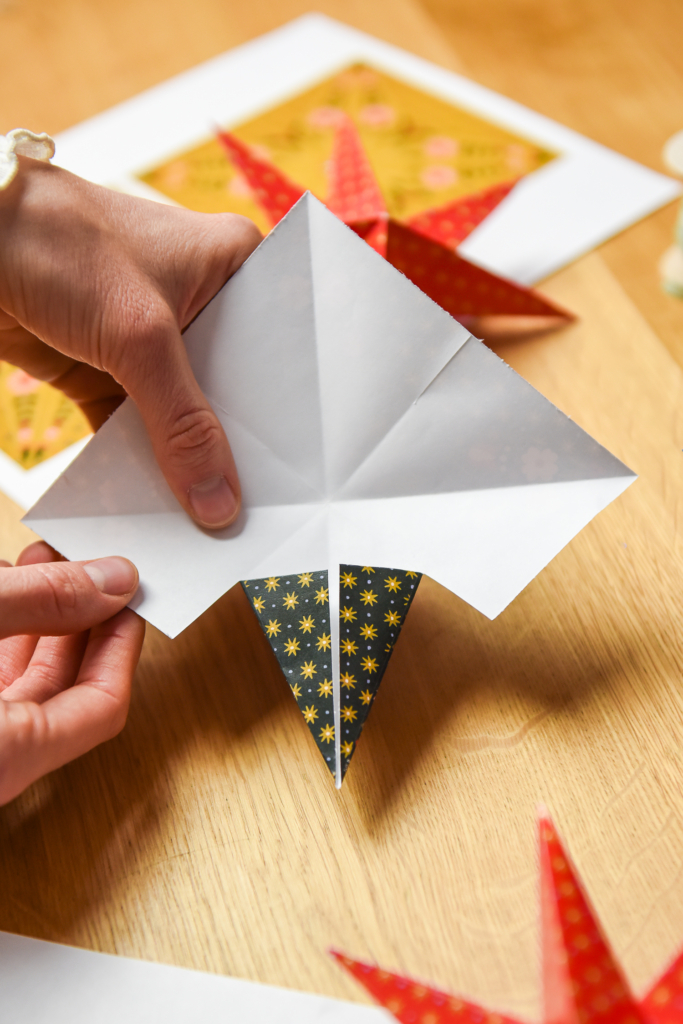
After cutting the sides, fold to create a point at both ends.
-
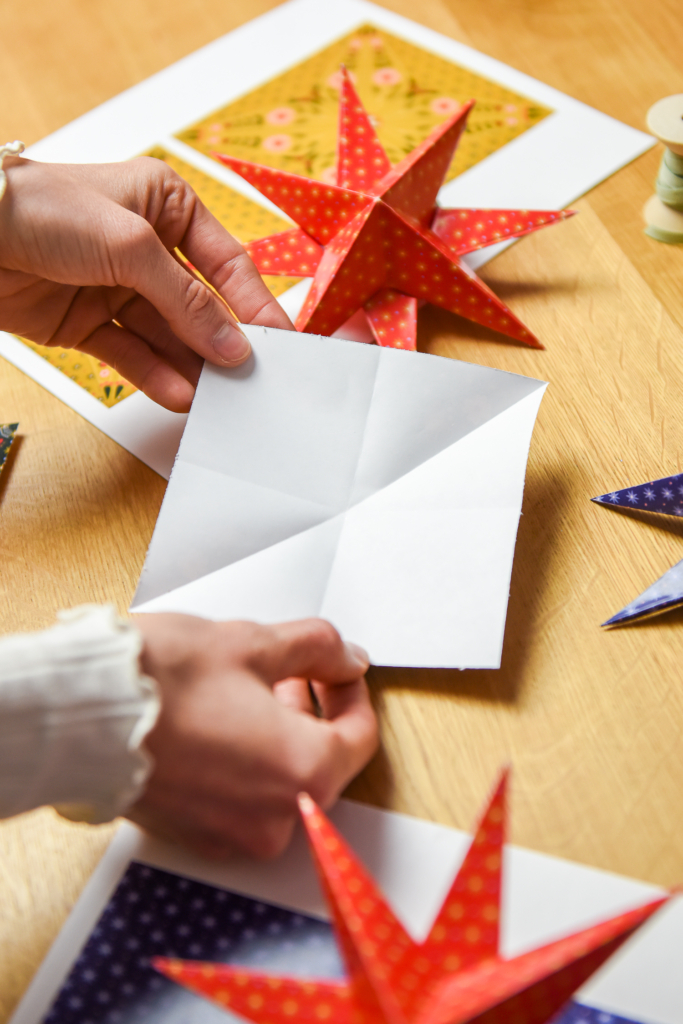
Repeat this on each side of the 4 points.
-
Use a glue stick to fold over each side of the dot and glue the other side on top.
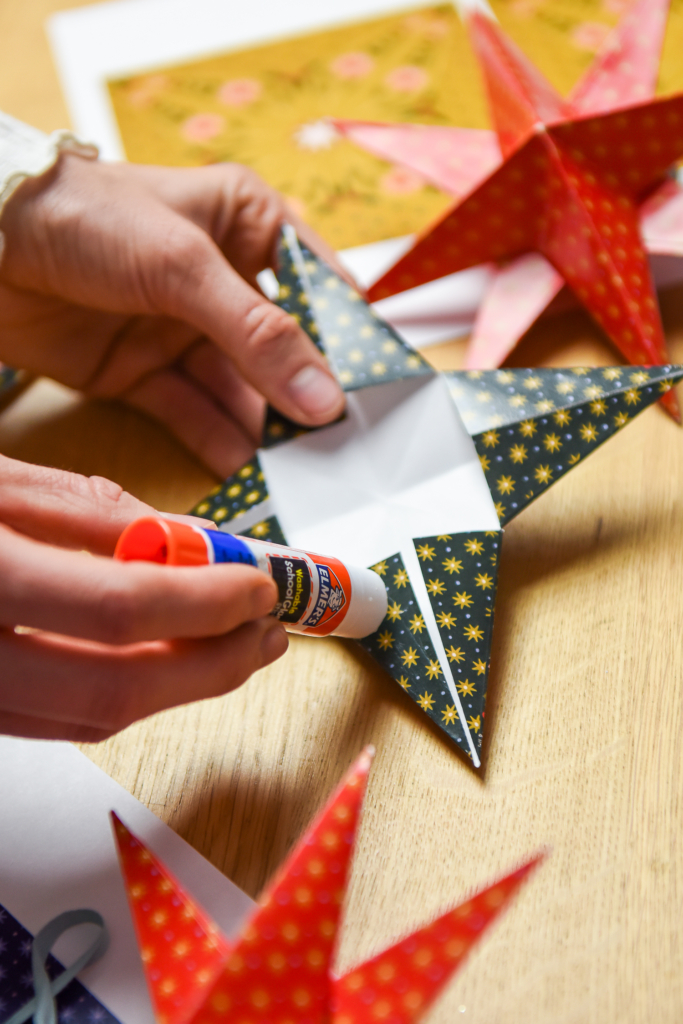
-
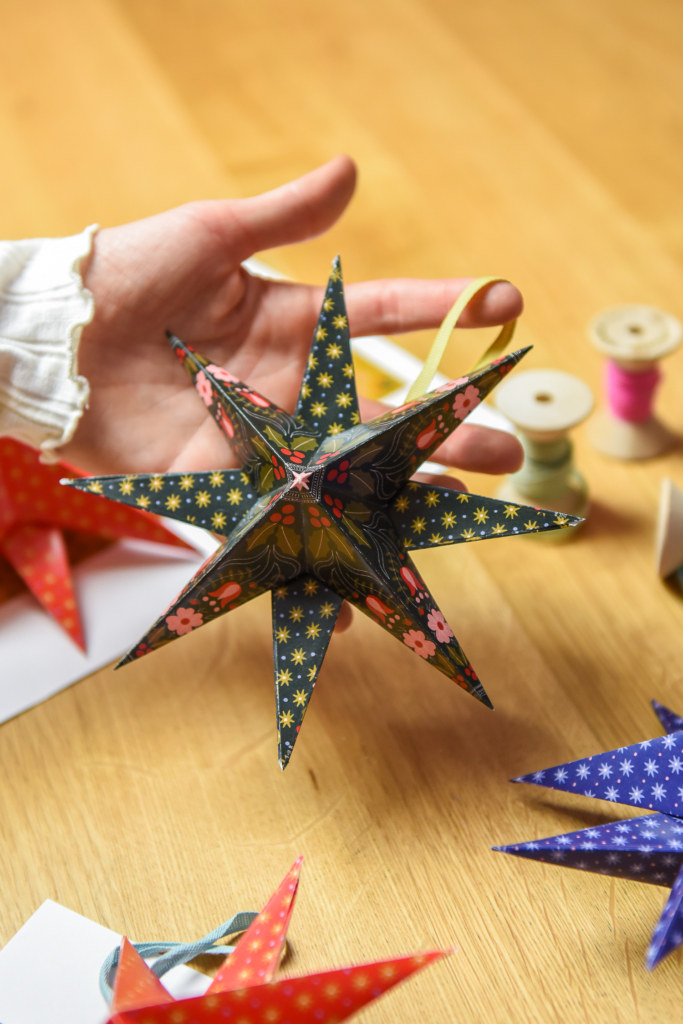
This will create a 3D quality to the stars.
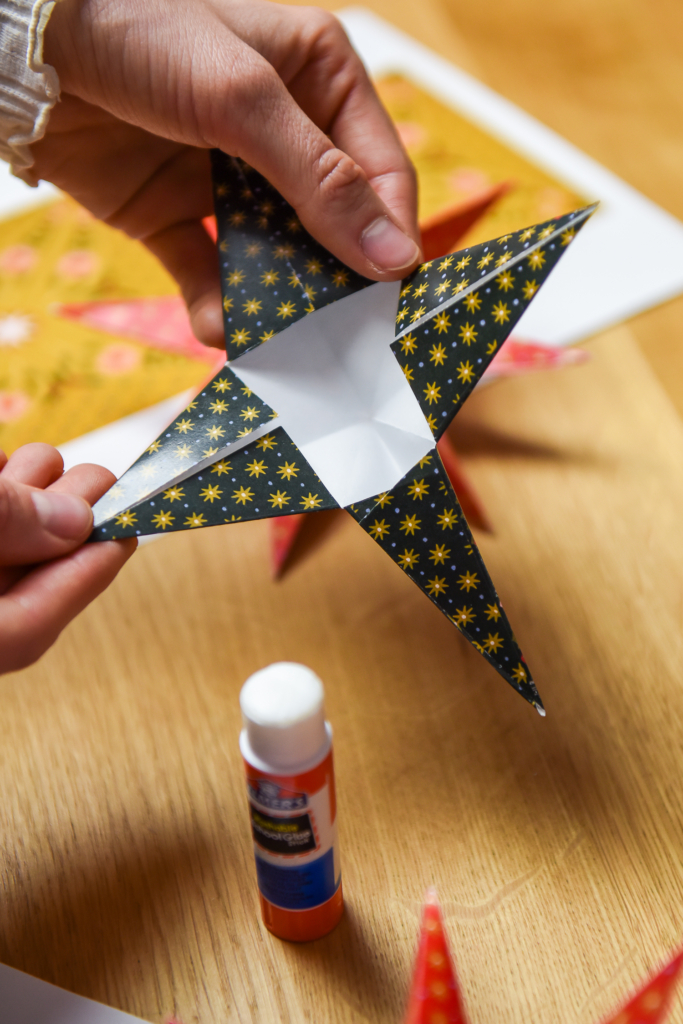

-
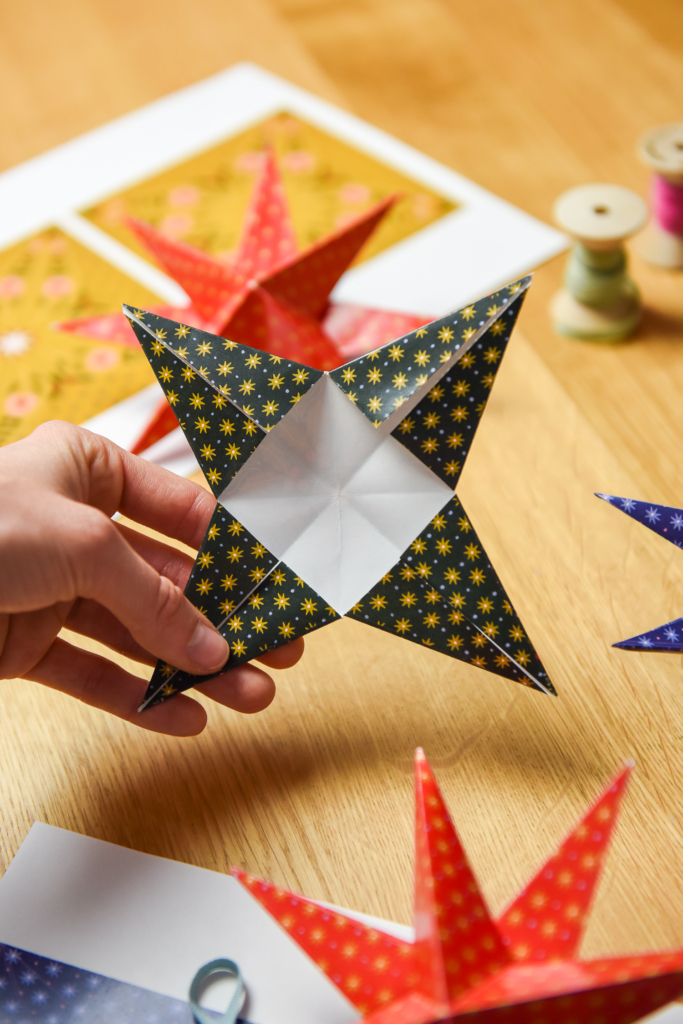
Repeat to the other square so you have two stars.

-
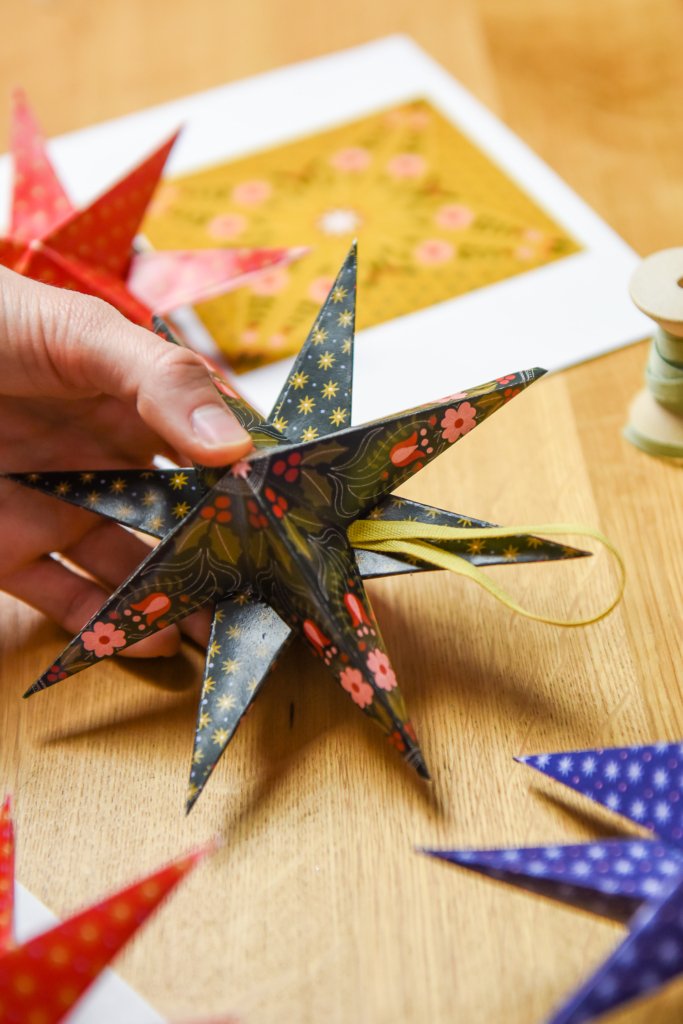
Use a glue gun to glue the center perimeter of the star.
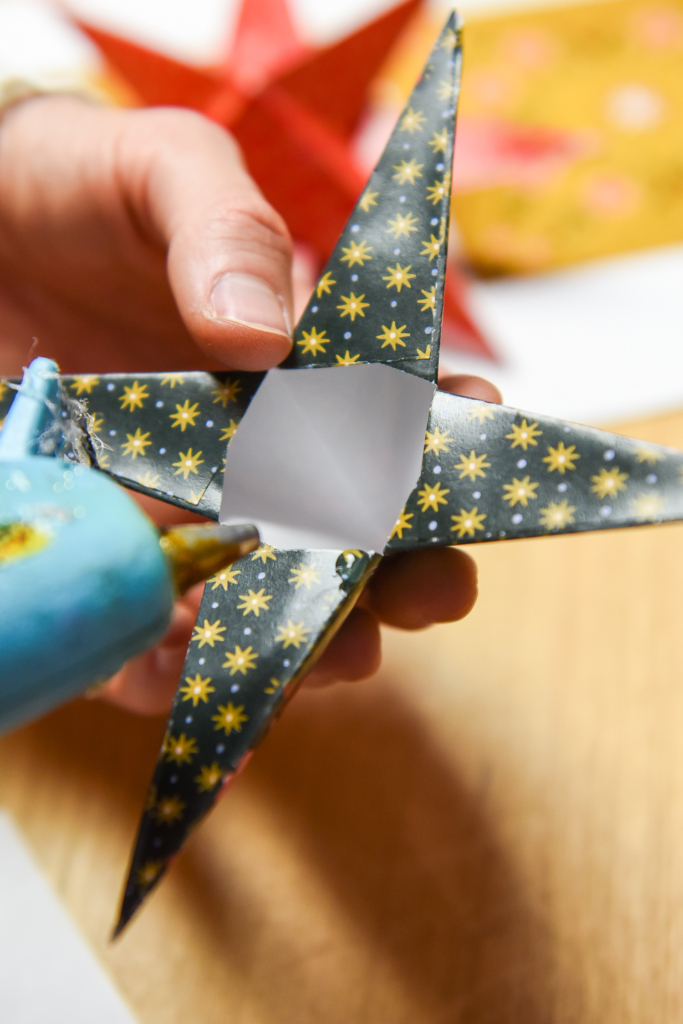
-
Then carefully place the other piece on top so that it fits perfectly. You need to use the glue gun carefully to avoid glue seepage.
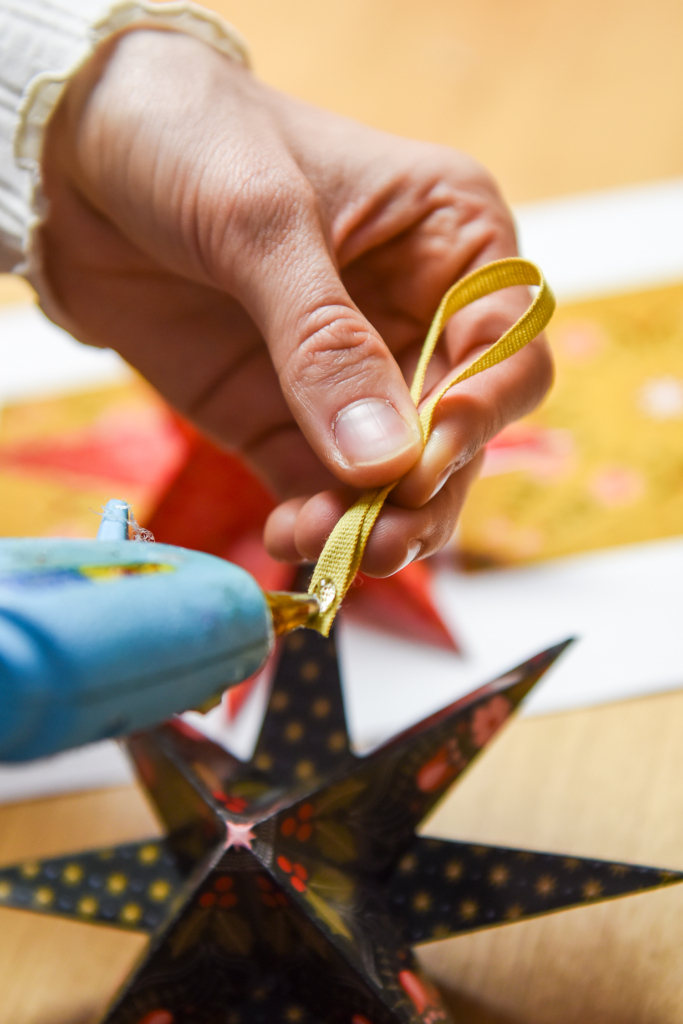
Add ribbon to create decorations.
-
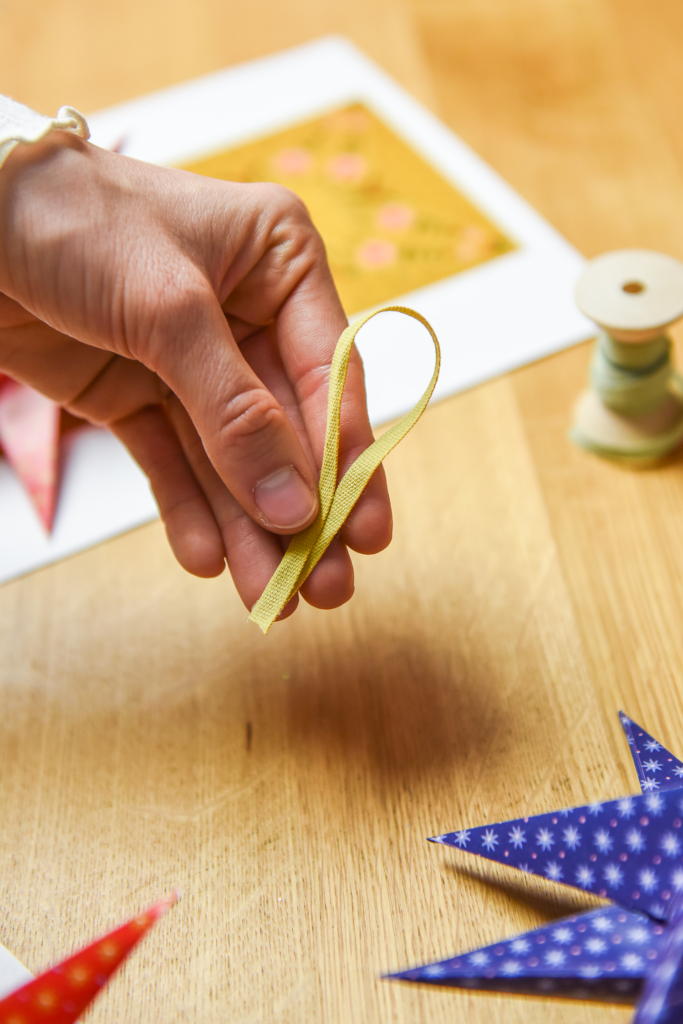
If you want to turn the star into a decoration, add ribbon by creating a loop.
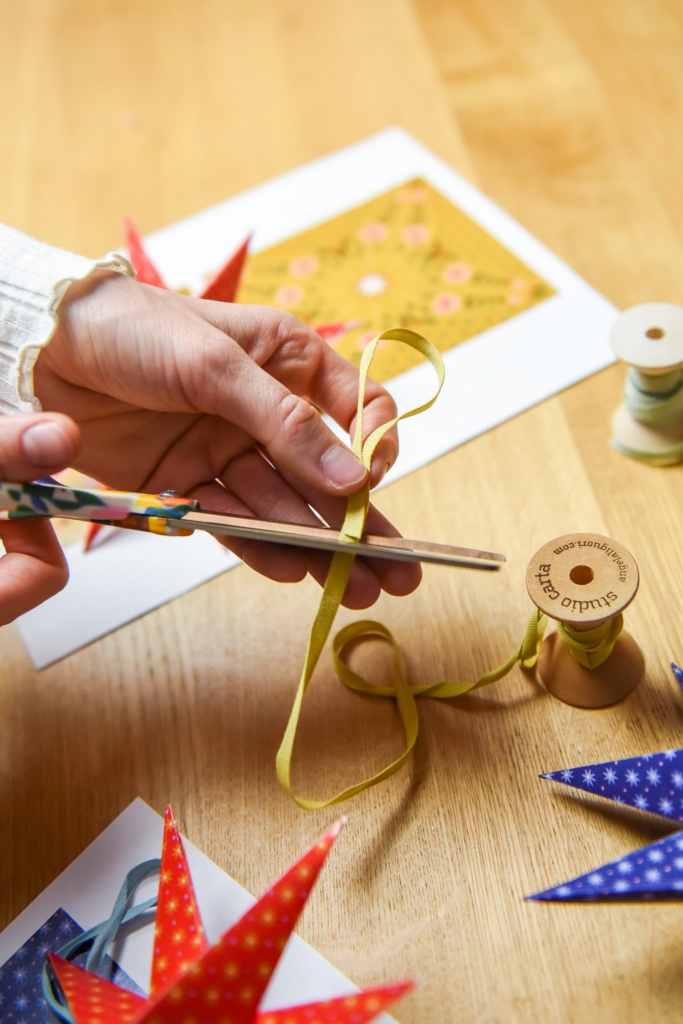
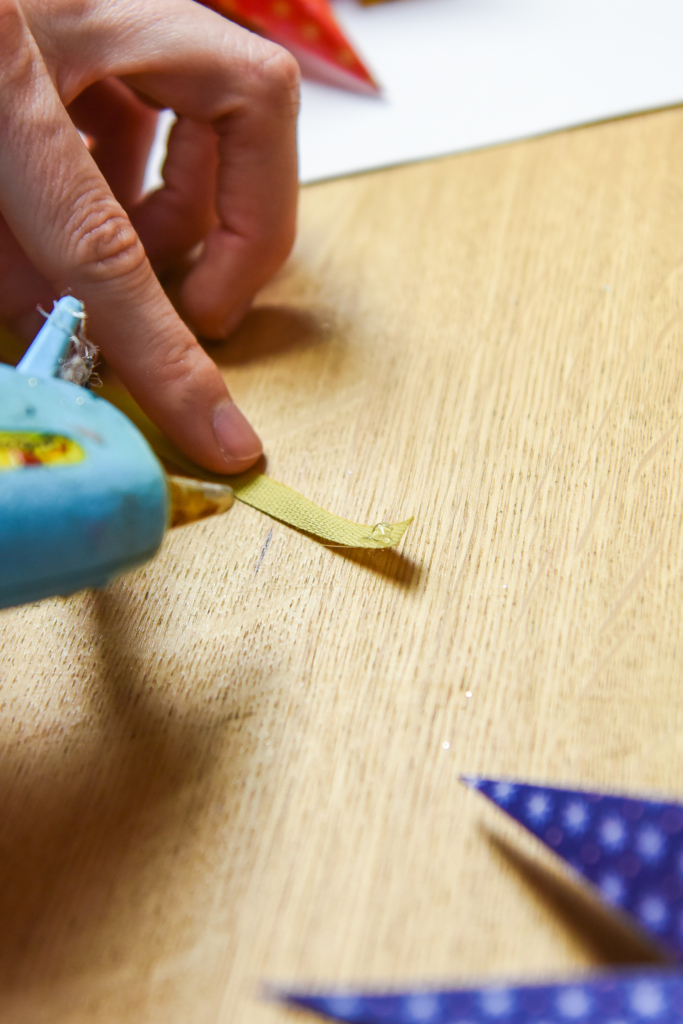
-
Then glue the ring to the top of one of the points.
-
Insert the loop into the point.
-
You also have a cute decoration! Or, you don’t need to add ribbon, it works great as a decoration!
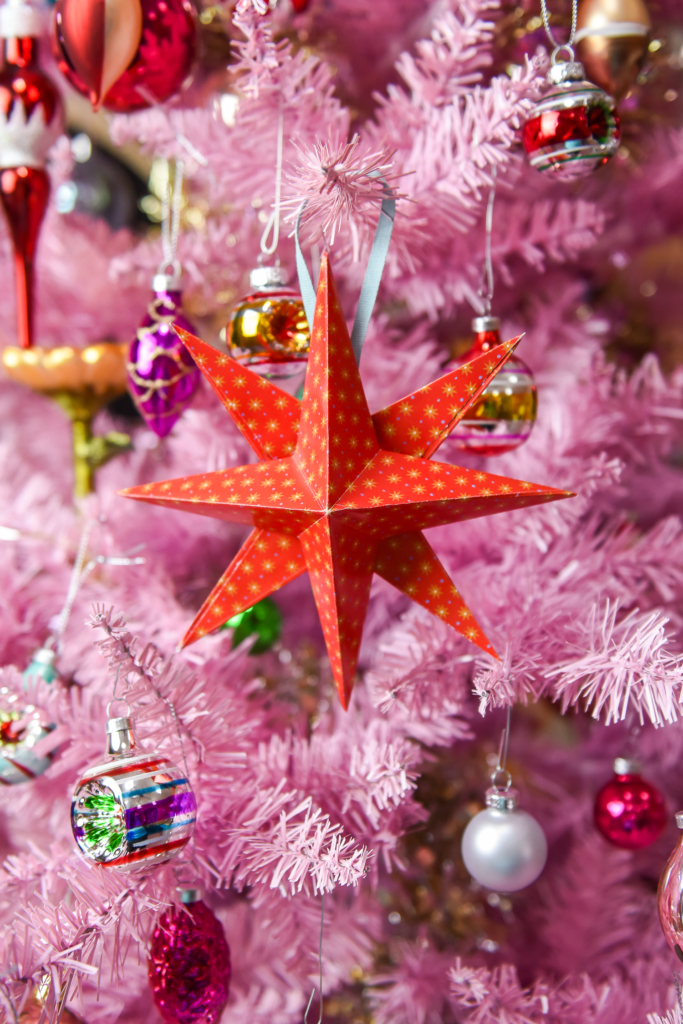
Are they special? I love that you can do so much with them!
As always, if you make them, we’d love to see how you style them! Tag us with #HolidaysWithLars or #LarsMakes so we can all appreciate them!


